Archive for category Teleconferencing
Before & After: Video Conference Room
Posted by Acoustics First in Absorption, Customer Feedback, Media Room, Multipurpose Rooms, Offices, Product Applications, Products, Teleconferencing, Video on March 6, 2024
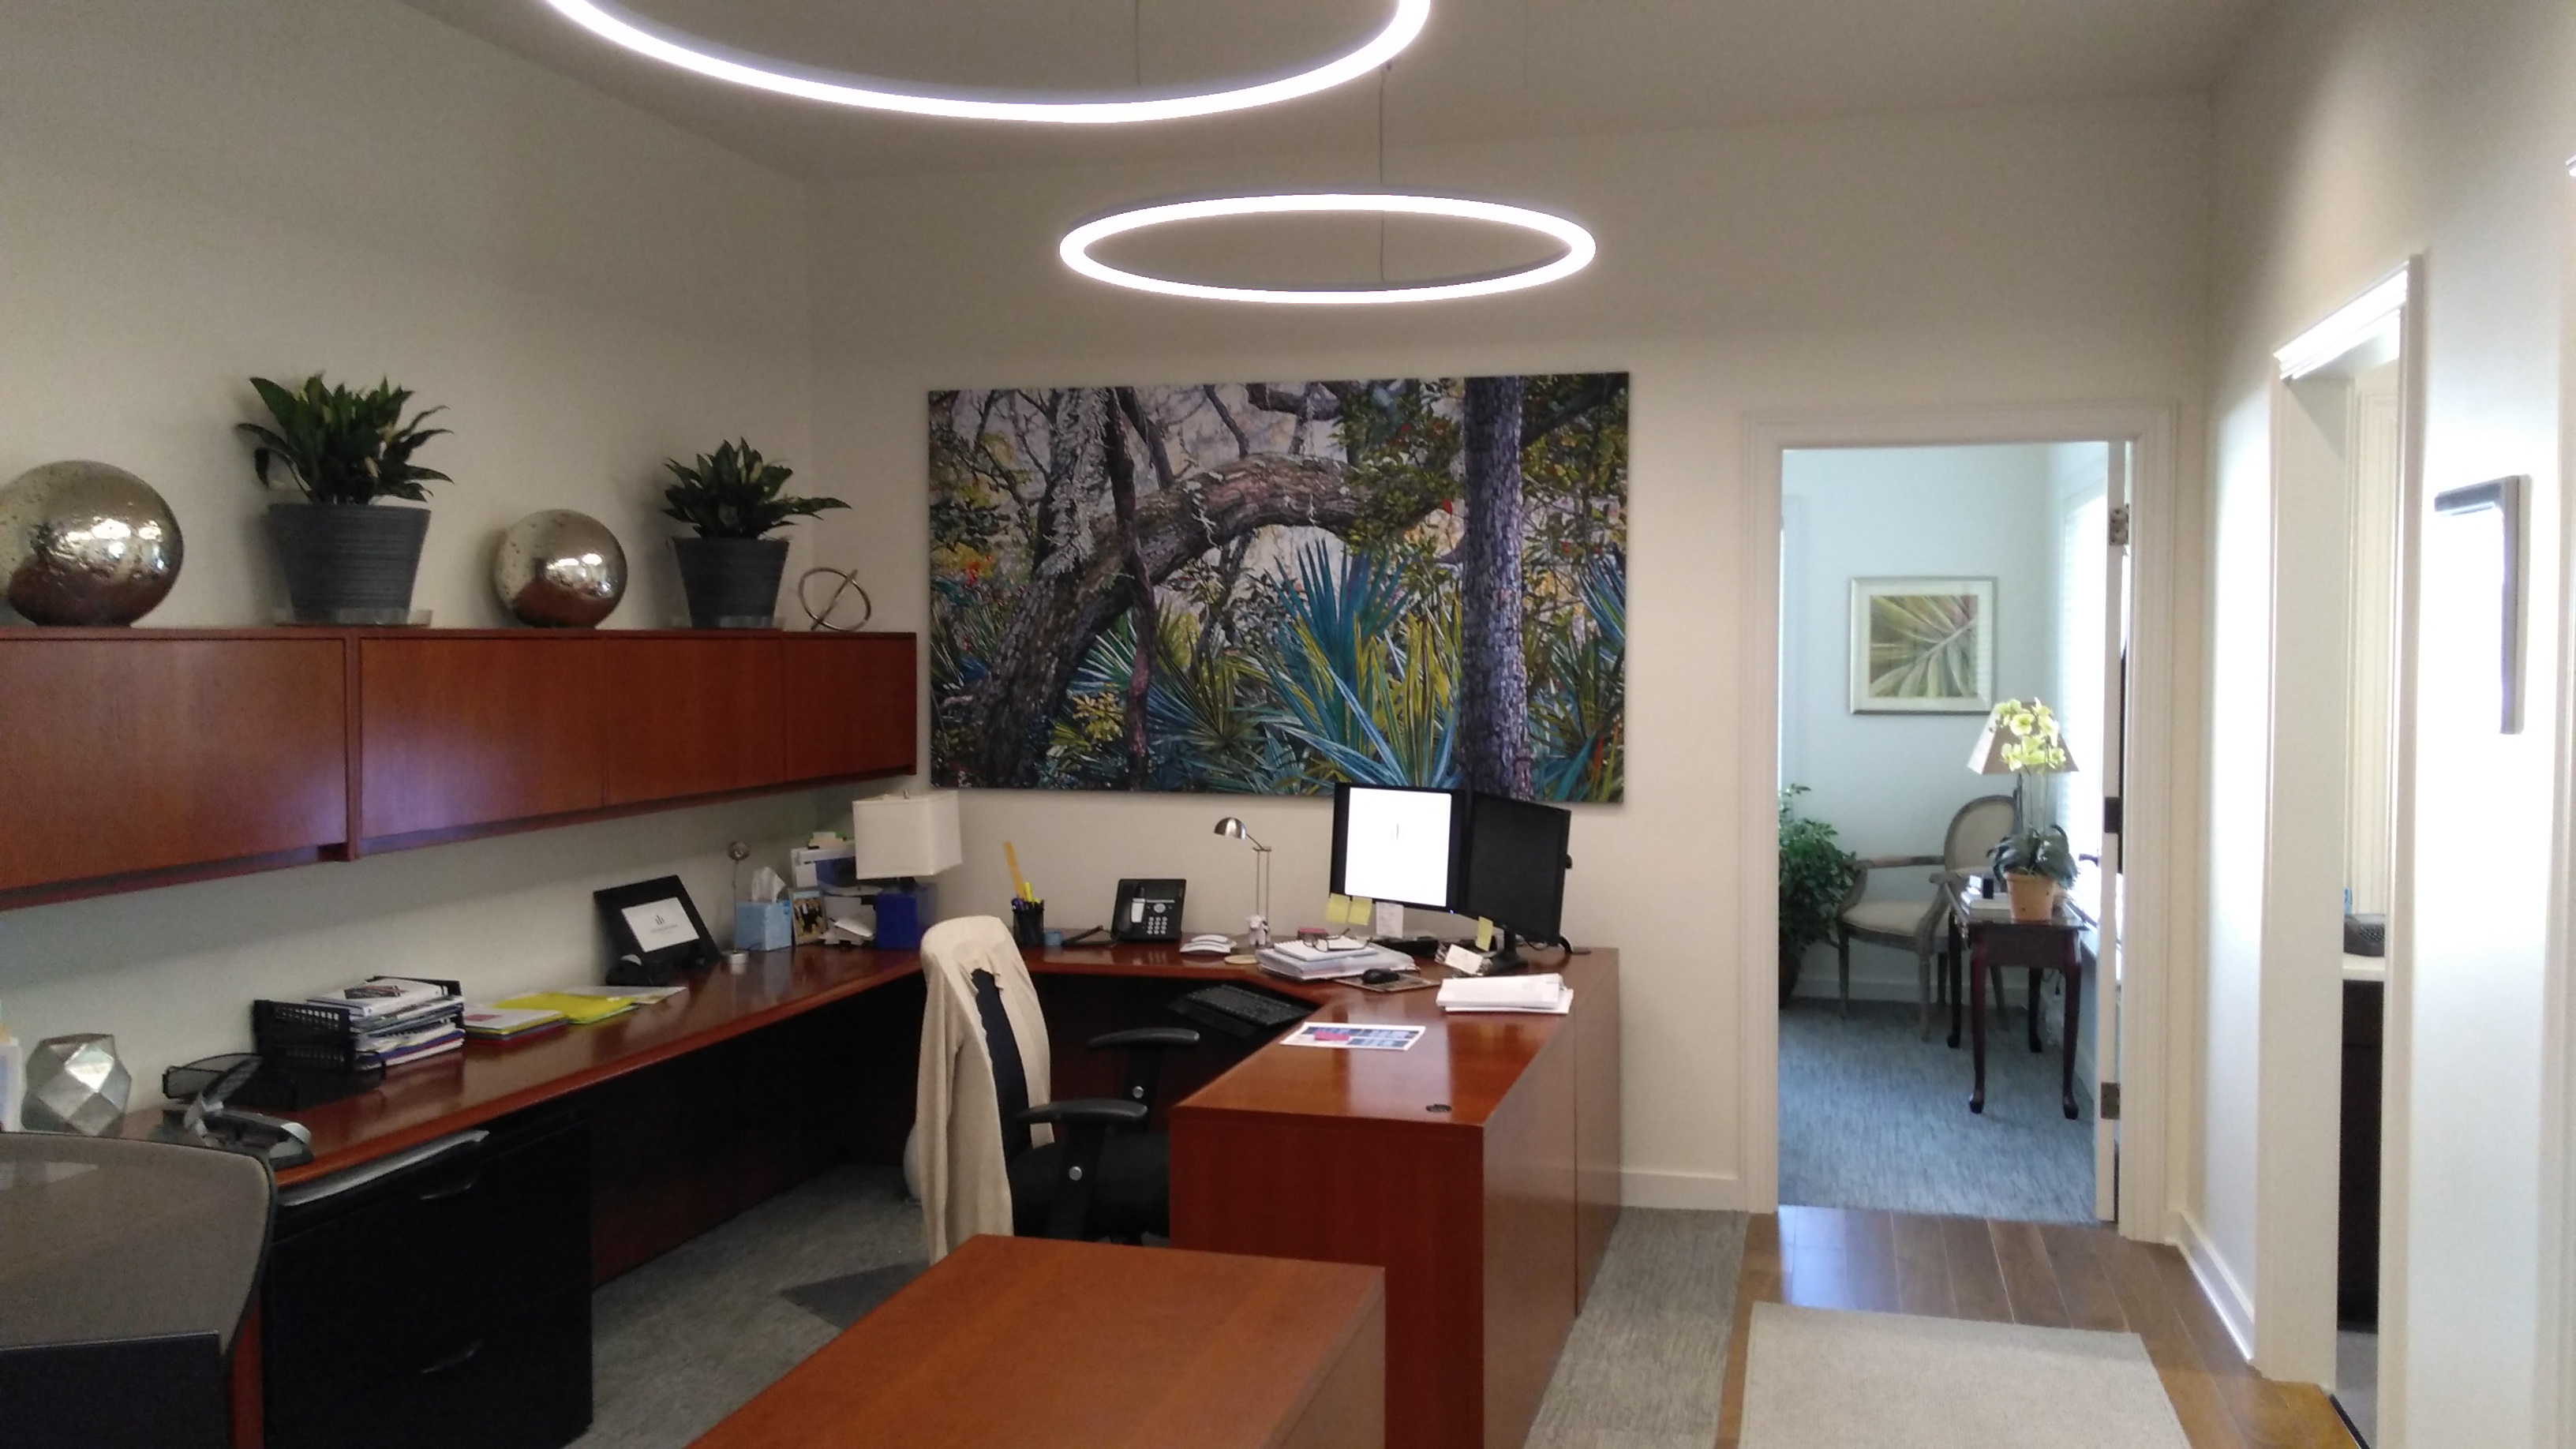
AMC Technology is located in a 5,400 square-foot suite that features a large open office area, a break room as well as several conference rooms.
When Acoustics First® initially met with the AMC team, they had recently moved into the space and were experiencing a number of acoustic problems in the open office area. Although Acoustics First® originally provided recommendations to improve workstation isolation in the open office, once the employees settled into the space, call-clarity issues in the conference rooms had become the much larger concern.
Three of the conference rooms were rudimentarily treated with 1” sound absorbing panels. The other four conference rooms were not treated acoustically and had hard/reflective walls, floors and ceilings. These hard surfaces were most at fault for excessive reverberation, noise buildup and distracting flutter-echoes (“ringing” caused by parallel reflective surfaces). These conditions contributed to an acoustically uncomfortable environment in which speech was hard to understand and conference call clarity suffered.

AMC Technology’s CTO, Anthony Uliano, identified a few goals for potential acoustic remediation. Anthony often works remotely and will call into the conference rooms to talk with team members. The sound of these calls on his side was frequently distorted and individual team members were difficult to understand. Anthony was concerned that clients were experiencing the same intelligibility issues. The primary goal for acoustic treatment was to improve the clarity of conference calls by reducing echoes and excessive reverberation within each conference room. Anthony also mentioned that they were experiencing some isolation problems. Though not a high priority, steps to reduce sound transmission were detailed for future consideration.
Acoustics First® specified Sonora® wall and ceiling treatment within each conference room to control flutter echoes and reduce reverberation down to suitable levels for conference calls. The video below provides a great snapshot of how the room sounded before and after treatment. Each recording is done in the same room, with the same employee and sitting the same distance from the microphone. The end result is a much clearer and intelligible conversation.
Absorption & Diffusion – The Construction Specifier
Posted by Acoustics First in Absorption, Art Galleries, Articles, Auditorium, Broadcast Facilities, Diffusion, Home Entertainment, Home Theater, HOW TO, Industrial Facilities, Media Room, Multipurpose Rooms, Music Rehearsal Spaces, Offices, Product Applications, Recording Facilities, Studio Control Room, Teleconferencing, Theater on April 29, 2022
For the May 2022 edition of “The Construction Specifier,” Acoustics First was asked to illustrate the use of absorption and diffusion in creating optimal acoustic spaces. The article is a great reference for understanding the types of acoustic absorbers and diffusers, as well as some use scenarios like offices, critical listening spaces, and larger communal spaces.
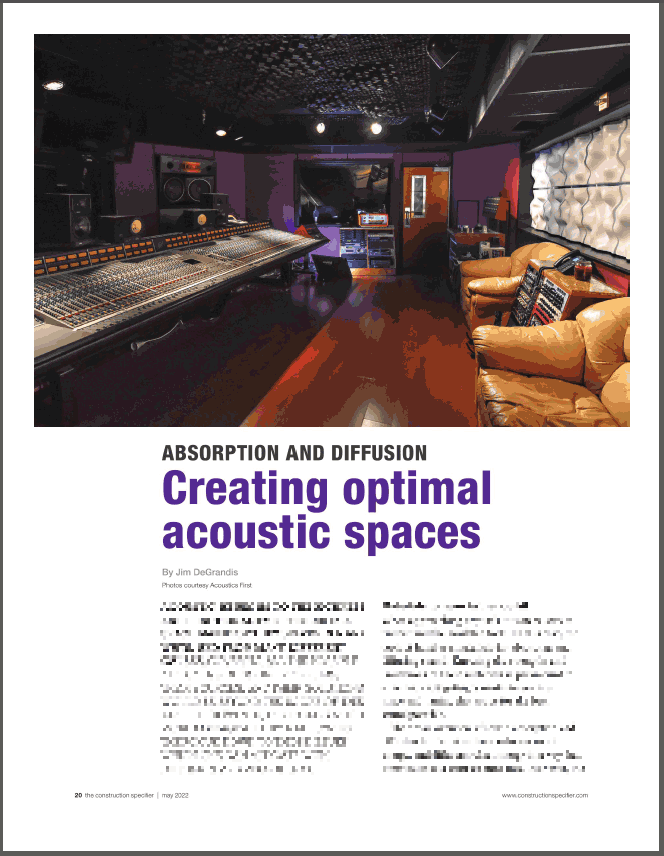
Note: This version has been edited and the advertisements are removed. The full published version of the May 2022 digital edition can be found on The Construction Specifier’s website here.
Make your voice heard! – Treating your home office for conference calls.
Posted by Acoustics First in Absorption, Diffusion, Offices, Product Applications, Products, Teleconferencing, Uncategorized on May 21, 2020
The current crisis has forced a large portion of the workforce to operate out of their homes. Daily Zoom and Skype meetings have become a ubiquitous part of our lives. For many of us, this shift is only temporary. However, some companies are seeing the benefits of working at home, and are making plans to move employees to permanent remote positions.
Teleworking Offices can benefit from acoustic panels like the Silent Picture® Panel, which reduces reverb and flutter echo, while appearing to be a piece of wall art.
I’m sure all of you have been on a conference call in which a team member’s audio is difficult to understand. This could be caused by a microphone or connection issue, but a large number of intelligibility problems are rooted in a room’s acoustics. Let’s take a look at some common acoustic issues in home offices and how they relate to conference call clarity.
Background Noise – Obviously, it’s difficult to understand speech when there is a lot of background noise. It is vital that you isolate yourself from extraneous sound sources as best you can. Some sources (TV, HVAC) are easier to control than others (traffic noise, pets, children etc.). Make sure your office is “closed off” from intruding noise. Remember, sound is a little like water; it will “pour in” through any openings, such as gaps around doors. If possible, install full perimeter seals and door sweeps to improve sound isolation in your office. If you have sound transmitting through a wall, ceiling or floor, you can consider adding a layer of mass loaded vinyl to the assembly in order to help block unwanted air-borne noise. You can then cover the mass loaded vinyl with SoundChannels® like in this blog.
Reverberation – In simple terms, reverberation is the sound energy that remains in a listening environment as a result of lingering reflections. The reverberation time (RT or RT60) quantifies how quickly an impulse sound decays in a space. Reverberation time is dependent upon the volume and surface materials of a given room. Large spaces with hard materials (tile, drywall etc.) have longer reverberation times, while small rooms furnished with “softer” materials (carpet, drapes etc.) sound more much more “dead”. Speaker phone conversations require a very short reverb time, for optimal clarity, somewhere in the .5s range (half of a second). You can reduce reverberation in your home office with the addition of “fluffy” or irregular furnishings, acoustic panels, rugs, curtains and plants.
Flutter Echoes – Flutter echo, which can be heard as an annoying “ringing sound”, is caused by parallel reflective surfaces. In certain critical listing environments, sound diffusers are used to alleviate flutter echo. Flutter echoes can greatly degrade conference call clarity. This phenomenon can occur between two walls or floor-to-ceiling. To control flutter echoes in your office, you should break up any parallel surfaces with furnishings and/or sound absorptive treatment.
Silent Picture®, Tone Tile® and Sonora® Panels are all great ways to attractively incorporate sound absorption into your work space!.
Reach out to Acoustics First® for a treatment recommendation for your home office!
Tone Tiles® – Double take.
Posted by Acoustics First in Absorption, Offices, Products, Teleconferencing on July 18, 2018

From time to time, we have folks who require a good dose of sound absorption for their space, but desire a less intrusive look than that of ‘standard’ acoustical panels. For situations like this our Tone Tiles® are often the perfect solution. Although these panels are paintable and printable, when left in their ‘unfinished’ state they have a soft white color which is very subtle and tends to blend in well with many different environments. Here are a couple of pics from a recent ceiling installation.
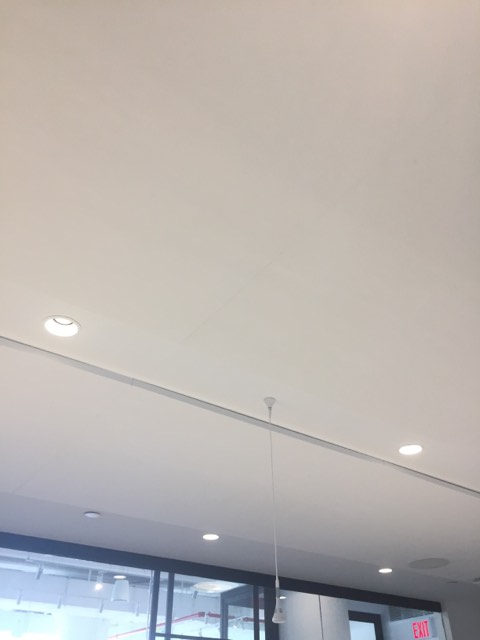
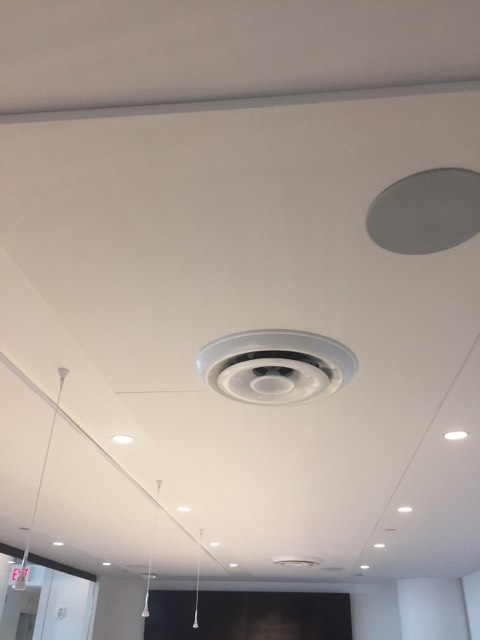
As you can see, the panels almost disappear into the ceiling!
DIY – Back Wall Diffuser Array/Bass Trap: Revisited
Posted by Acoustics First in Absorption, Articles, Broadcast Facilities, Customer Feedback, Diffusion, DIY, Home Entertainment, Home Theater, HOW TO, Media Room, Music Rehearsal Spaces, Music Tracking Room, Product Applications, Recording Facilities, Recording Studio, Studio Control Room, Teleconferencing, Theater, Vocal Booth, Voice Over on July 14, 2016

DIY – Diffuser Array/Bass Trap
 This month we thought we’d share a few Real-Life pictures of an idea we first introduced back in summer of 2013: The “Back Wall Diffuser Array/Bass Trap”.

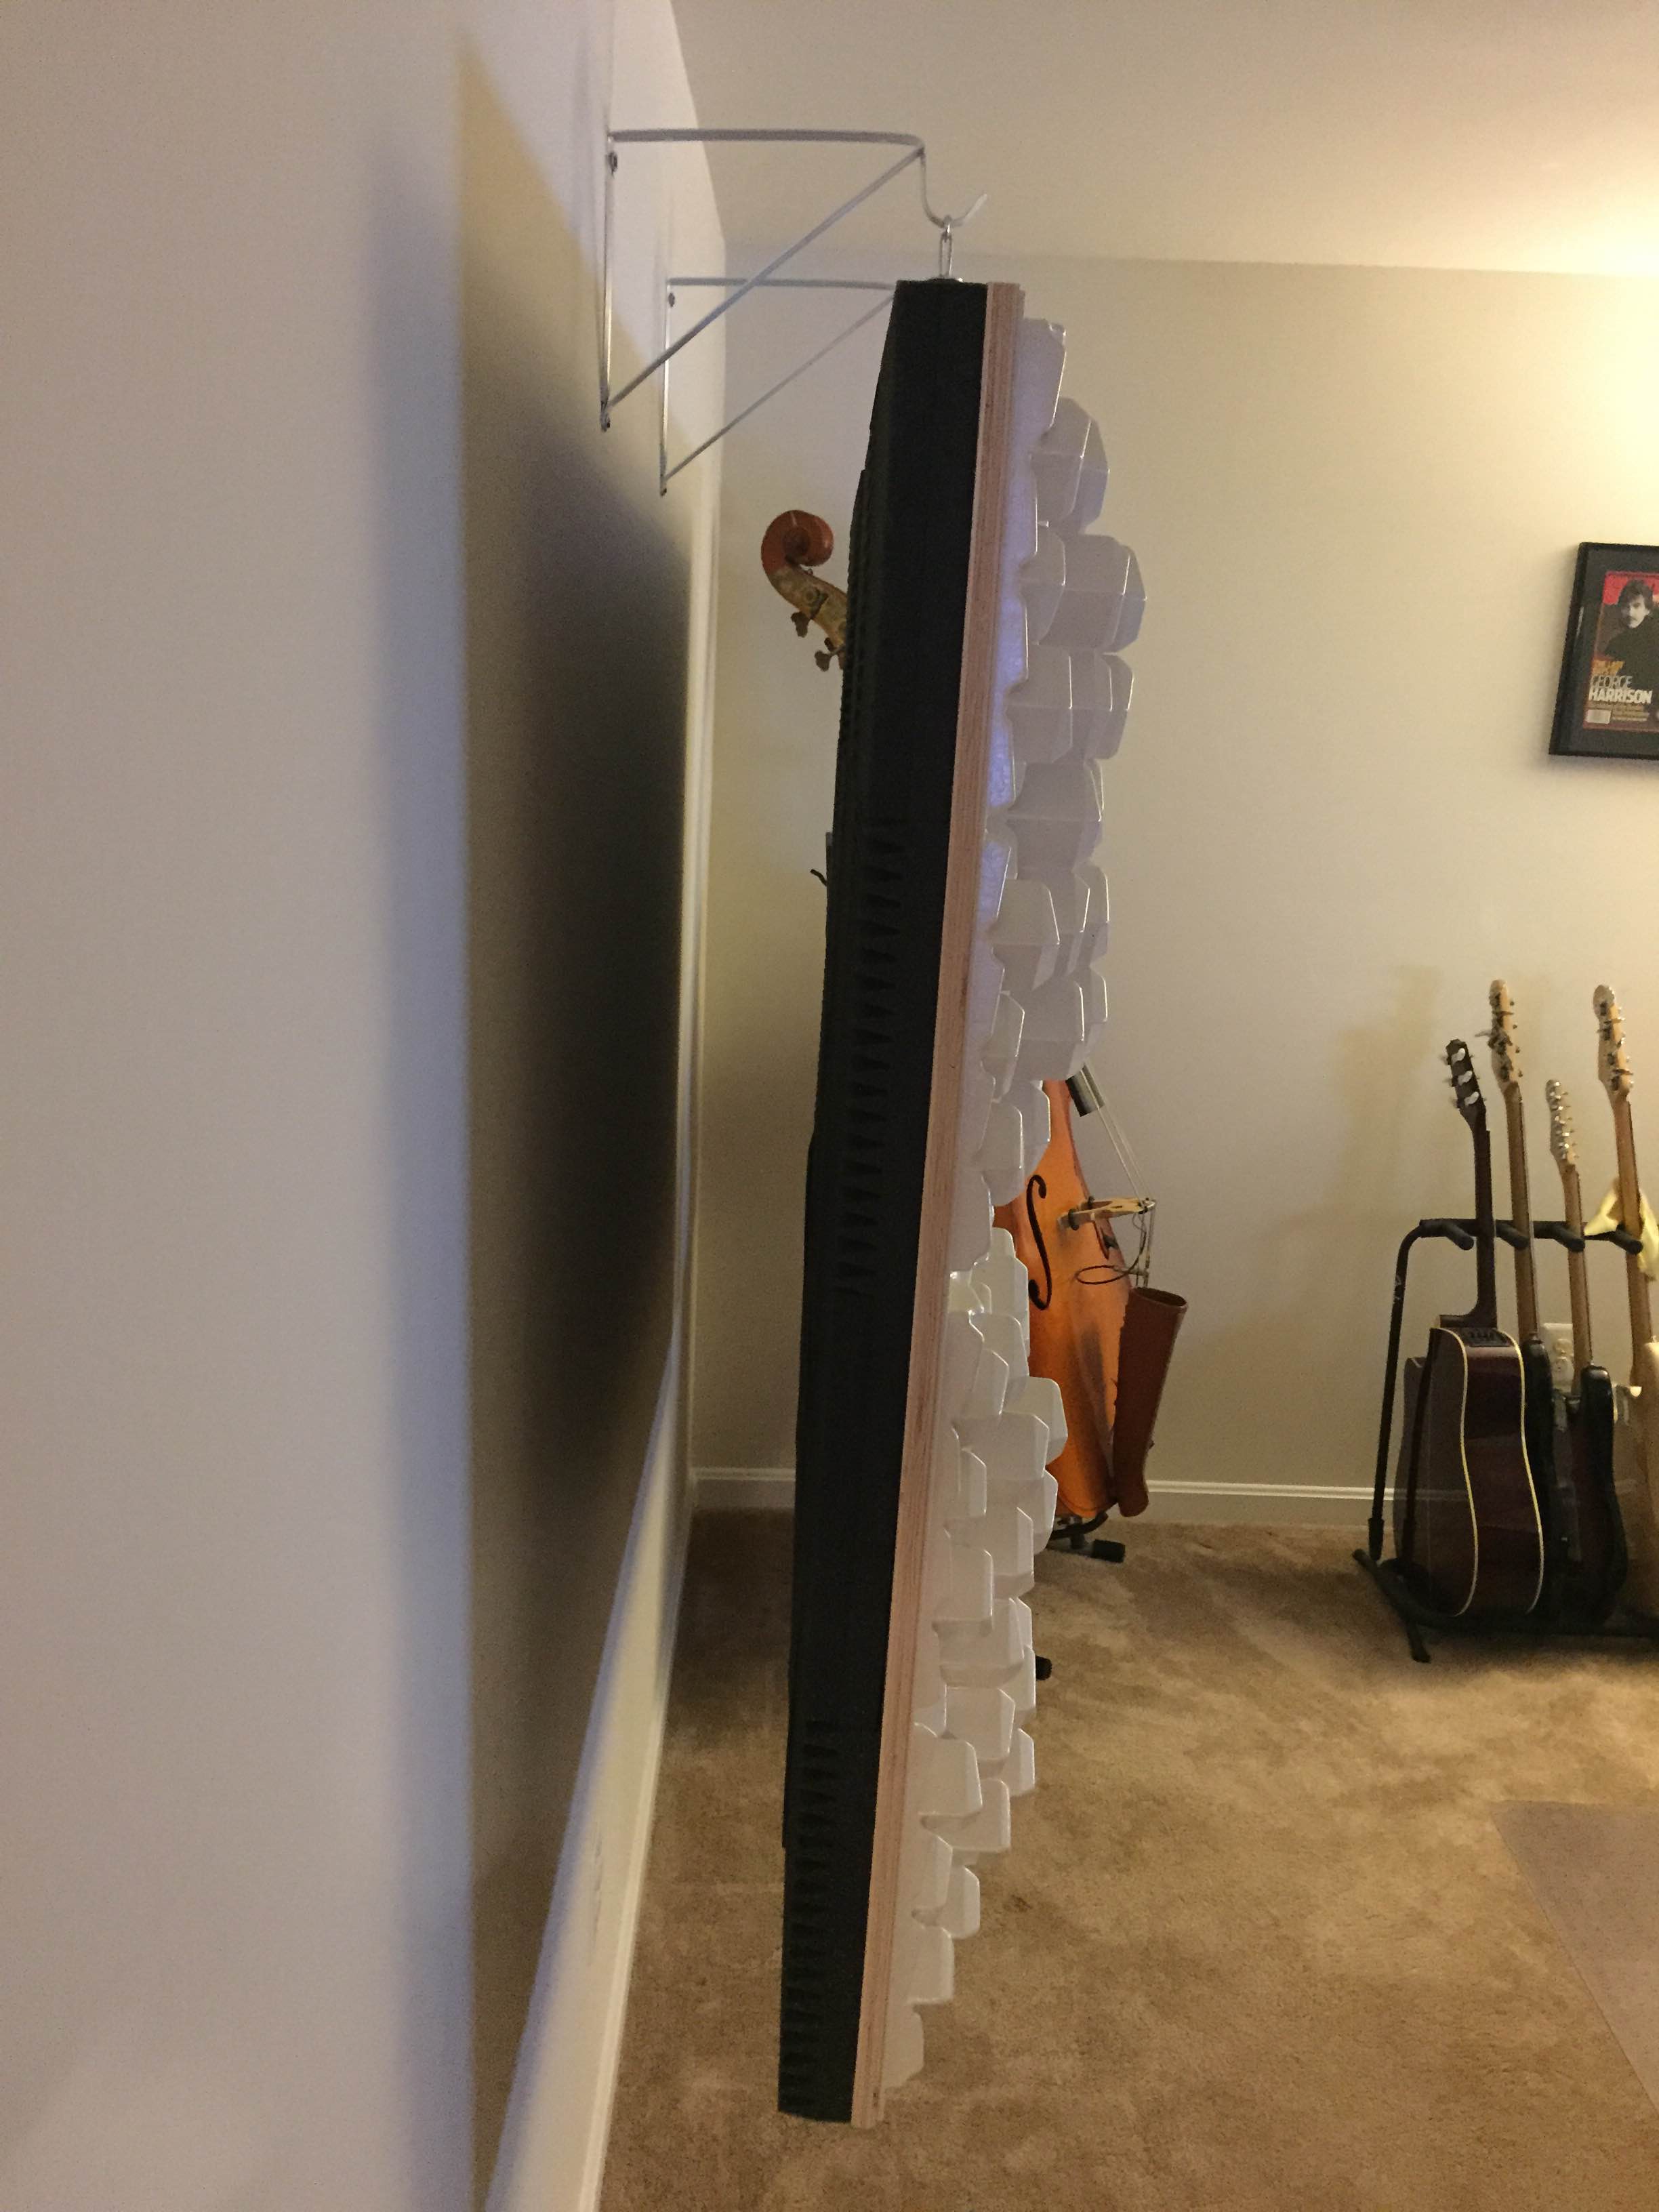
Isolation Hanger
This is the DIY project which incorporates our Art Diffusors®, Cutting Wedge® foam and a couple of isolation hangers into one large free-floating unit, which is acoustically decoupled from the wall.
This particular array was put together by a music producer/bass player for his home. As you can tell from the pics, the construction of this unit was executed beautifully and it’s very close to the original concept drawings.
It’s never too late to get started on your own DIY project.
 Real World – DIY |

Visit the Original DIY page to find out how to make your own.

You must be logged in to post a comment.