Archive for category Broadcast Facilities
Similar, Yet Different: Aeolian® vs. MiniAeolian™
Posted by Acoustics First in Broadcast Facilities, Home Entertainment, Home Theater, Media Room, Multipurpose Rooms, Music Rehearsal Spaces, Music Tracking Room, Product Applications, Products, Recording Facilities, Recording Studio, Studio Control Room, Uncategorized, Vocal Booth, Worship Facilities on September 28, 2023

In this installment of “Similar, Yet Different”, we are going to compare the two current variations of the popular Aeolian® Diffuser – the original 2’x2′ Aeolian and the 1’x1′ MiniAeolian™!
Design
This comparison has some similarities to the very first “Similar, Yet Different” post we made comparing the ArtDiffusor® Model C to the ArtDiffusor® Model F. We are looking at a diffuser that uses identical mathematic functions to create the shape… both the Aeolian® and the MiniAeolian™ are an “Organic Quadratic” constructed from a Bicubic Interpolation of a Quadratic Residue Function. They are both truncated so that they are completely asymmetric, even to the edge. The MiniAeolian™ IS an Aeolian®, only it is scaled differently.
You may recall that the Model F was constructed of 4 scaled down Model C diffusers in a monolithic 2’x2′ tile – This is not the case with the MiniAeolian™. The Original Aeolian® Diffuser is a 2’x2′ footprint that is 5″ tall, and will fit in a standard 2’x2′ ceiling grid. The MiniAeolian™ is a single scaled down unit, and it is a little different – The 1’x1′ footprint stands alone as a single unit, but it is only scaled down in height to 4″.
In this case, form follows function. The MiniAeolian™ was built to fill a specific function as a smaller wall-mount unit, or a direct-mount ceiling unit for smaller spaces. Part of this wall-mount function was to have a version of the Aeolian® that would fit in tight areas or in spaces that didn’t have enough clearance for the 5″ standard Aeolian® (or would require modification to those areas (or diffusers) to allow this extra height). Some people implement configurations that have tighter footprint requirements, and the 1’x1′ footprint of the Mini allow it to be used in these types of layouts.
Performance
So how does this change affect the performance of the unit? Surprisingly, they are quite similar. The Organic curved design, with only a 20% reduction in height, shows only minor differences in performance of their overall frequencies ranges – with both primary ranges starting at about 1500Hz-1600Hz with and average between 150° and 170° of horizontal and vertical dispersion up to between 5Khz and 7Khz. While the primary range is a good indicator, when we look at the actual polar response, we can get a better picture of their full range performance.

A quick glance shows two very similar performing diffusers, except for the low-frequency performance. The larger elements and deeper formfactor of the original Aeolian® are more effective at the 1000Hz range, where the MiniAeolian™ appears to be mostly specular. There are some surprises however. It appears that at the 2000Hz range leans slightly in the favor of using 4 MiniAeolians™ in an array verses the single Aeolian®. There is more surface variation over the same footprint (2’x2′ in the array of 4), and the size of the Mini’s features are a bit more optimal for diffusing the 2Khz wavelength. This swings back slightly into the favor of the single Aeolian® at 4Khz, where the larger elements have a wider throw, and the elements of the Mini have steeper wells. At 8Khz, it tips back to the Mini, and then at 16Khz, they are both neck-and-neck.
The amazing similarity is that the variations are quite subtle through their entire effective ranges, and even quite a bit above those ranges. While there are slight differences in the performance of the diffusers when we compare the directly, these are really very minimal except for the low-frequency edge in performance of the larger original Aeolian®.
Closing
With the similarity of performance in the two diffusers, they can almost be used interchangeably – or even used together in the same environment to implement an aesthetic vision or add more randomness/variety to the diffusion in the space.
There are several occasions where you may require one over the other.
- If you need more 1Khz diffusion, you should add some 2’x2′ Aeolians® – as they perform better in that range.
- If you need to install diffusers that fit in a ceiling grid… you will also want to use the original.
- If you want the Aeolian® but need diffusers that will fit in a space that is less than 2’x2’x5″, you may want to go with the MiniAeolian™.
Currently the MiniAeolian™ is a custom order item only, and is subject to minimum order quantities.
Contact Acoustics First® for more information and pricing.
Absorption & Diffusion – The Construction Specifier
Posted by Acoustics First in Absorption, Art Galleries, Articles, Auditorium, Broadcast Facilities, Diffusion, Home Entertainment, Home Theater, HOW TO, Industrial Facilities, Media Room, Multipurpose Rooms, Music Rehearsal Spaces, Offices, Product Applications, Recording Facilities, Studio Control Room, Teleconferencing, Theater on April 29, 2022
For the May 2022 edition of “The Construction Specifier,” Acoustics First was asked to illustrate the use of absorption and diffusion in creating optimal acoustic spaces. The article is a great reference for understanding the types of acoustic absorbers and diffusers, as well as some use scenarios like offices, critical listening spaces, and larger communal spaces.
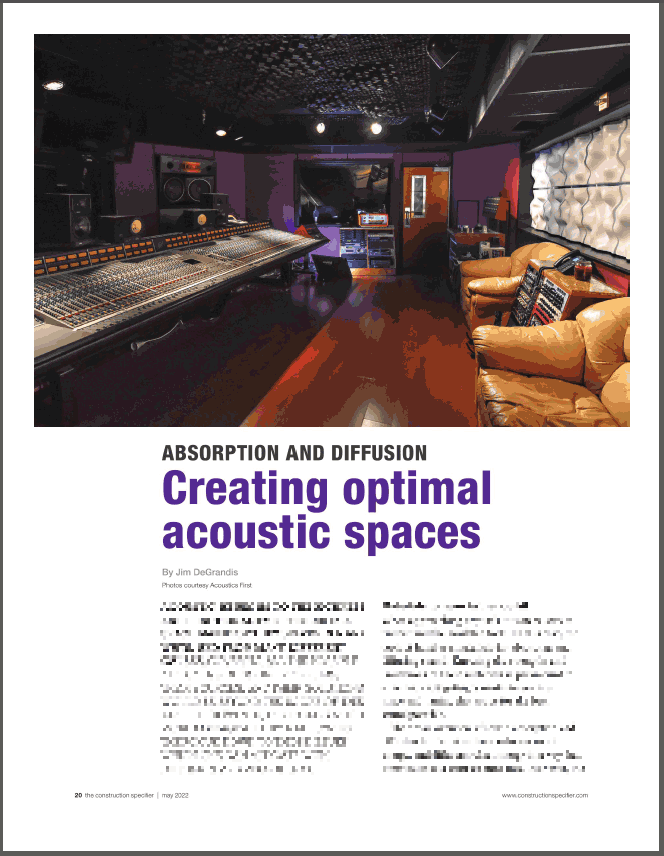
Note: This version has been edited and the advertisements are removed. The full published version of the May 2022 digital edition can be found on The Construction Specifier’s website here.
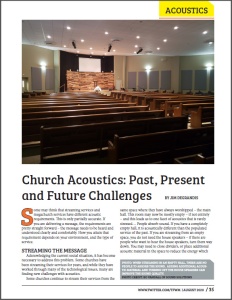
Church Acoustics: Past, Present, and Future Challenges (Article)
Posted by Acoustics First in Absorption, Articles, Broadcast Facilities, HOW TO, Product Applications, Products, Sound proofing, Worship Facilities on October 28, 2020
With all of the challenges of 2020, Technologies for Worship Magazine wanted to discuss the issue of acoustics in the current state of things. They approached Acoustics First® for help. While focusing on streaming, the article also covers other emerging issues and future challenges as we all move forward.

Streaming services from empty halls is an often overlooked situation. (Sonora® Panel installation at Midway Christian Church – Photo by Bo Vandall, Sound Solutions – Beckley, WV)
Technologies for Worship article below.
 Link to Acoustics First® Article
(TFWM site here)
To overcome your present and future acoustic challenges, contact Acoustics First® for help!
WKNC 88.1 completes renovation with Sonora® – and then does another!
Posted by Acoustics First in Absorption, Broadcast Facilities, Customer Feedback, Product Applications, Products, School & Educational Facilities, Uncategorized, Universities on September 25, 2019

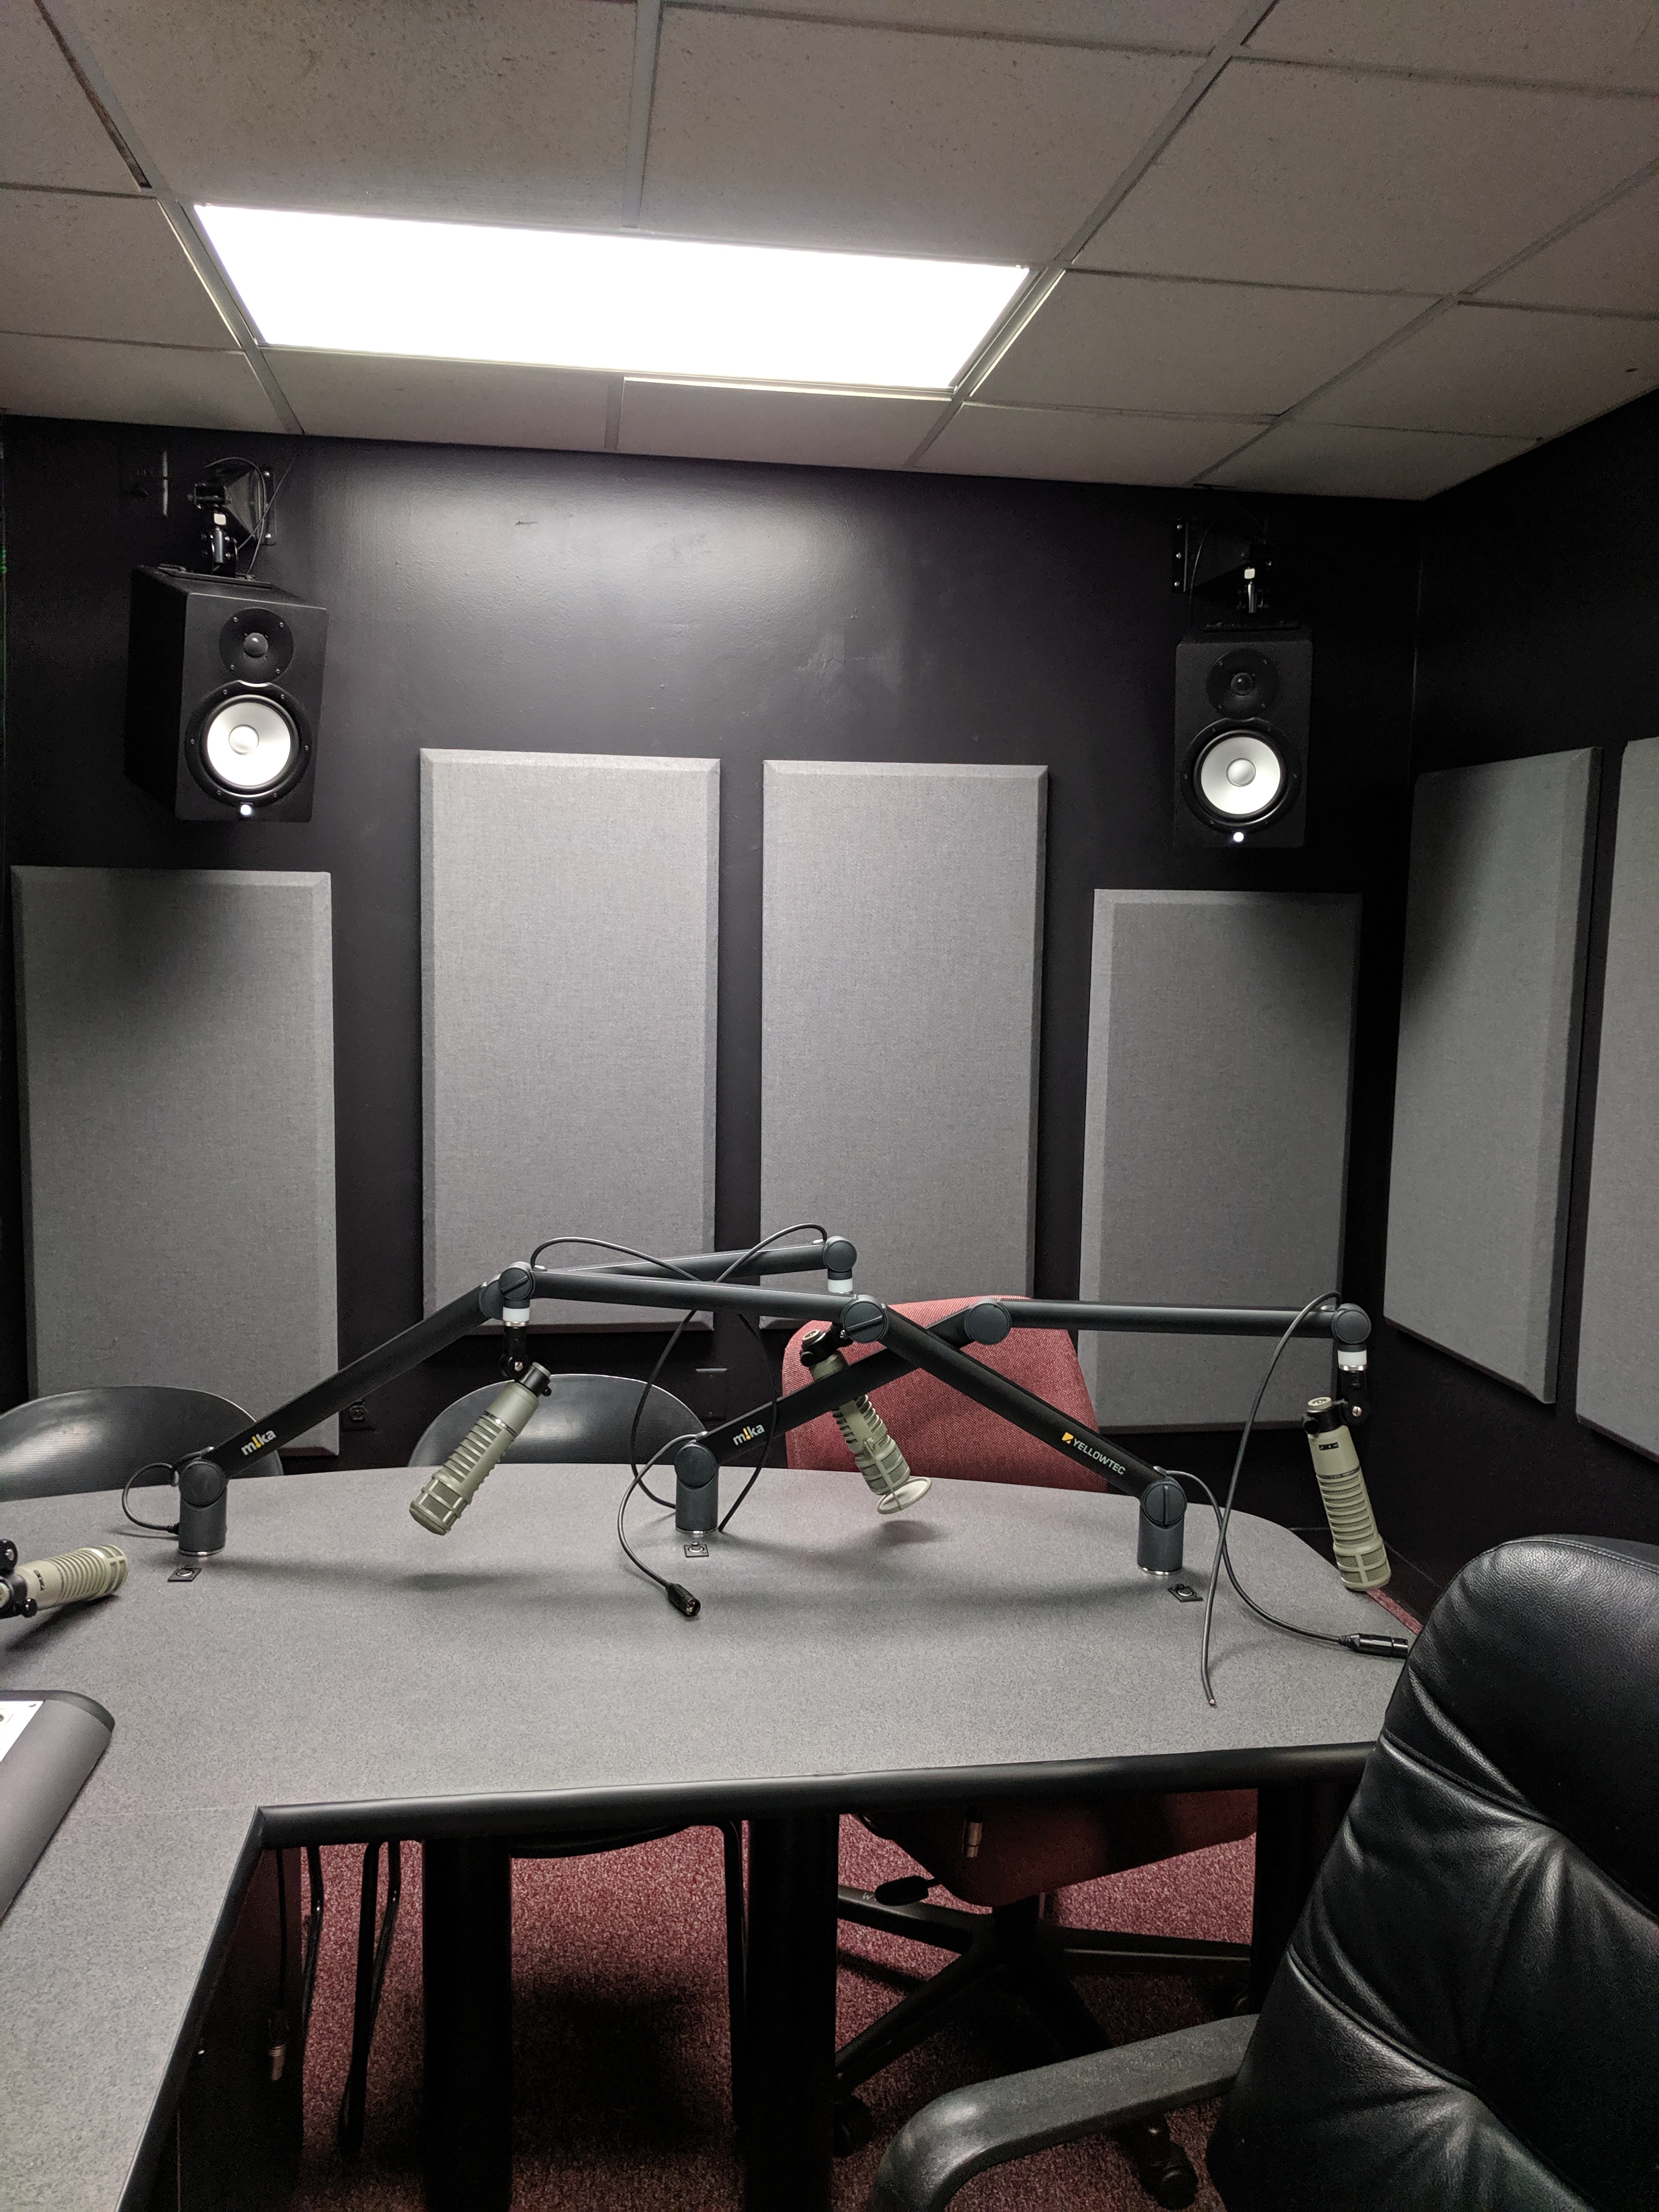
Sonora® Panels complete the HD-2 studio renovation. (Photo- J. Gilbert)
Renovating a broadcast studio is a daunting task – technically, financially, and logistically. Amidst the chaos, it is possible for certain things to fall through the cracks – even important things. As the student run station at NC State University began their renovation, they were focused on doing it right, and not letting important elements go unaddressed.
When Jamie Lynn Gilbert, the Associate Director of Student Media and Adviser to WKNC 88.1, contacted Acoustics First they were finishing up an extensive renovation of the HD-2 studio and were looking for some Sonora® Acoustic Panels as the “final touch.” The end result was the frosting on the cake of this renovation, and the impact, both acoustically and aesthetically, was quite evident – even to their consulting engineer on the project.

Sonora® panels in WKNC HD-2 studio – reverse angle (Photo – J. Gilbert)
So evident, in fact, that just a month later, Jamie was back in contact with Acoustics First® to get nearly identical treatment for their production studio as they completed its renovation as well…
Nearly identical Sonora® Panel treatment for the production studio. (Photo – J.Gilbert)
DIY – Back Wall Diffuser Array/Bass Trap: Revisited
Posted by Acoustics First in Absorption, Articles, Broadcast Facilities, Customer Feedback, Diffusion, DIY, Home Entertainment, Home Theater, HOW TO, Media Room, Music Rehearsal Spaces, Music Tracking Room, Product Applications, Recording Facilities, Recording Studio, Studio Control Room, Teleconferencing, Theater, Vocal Booth, Voice Over on July 14, 2016

DIY – Diffuser Array/Bass Trap
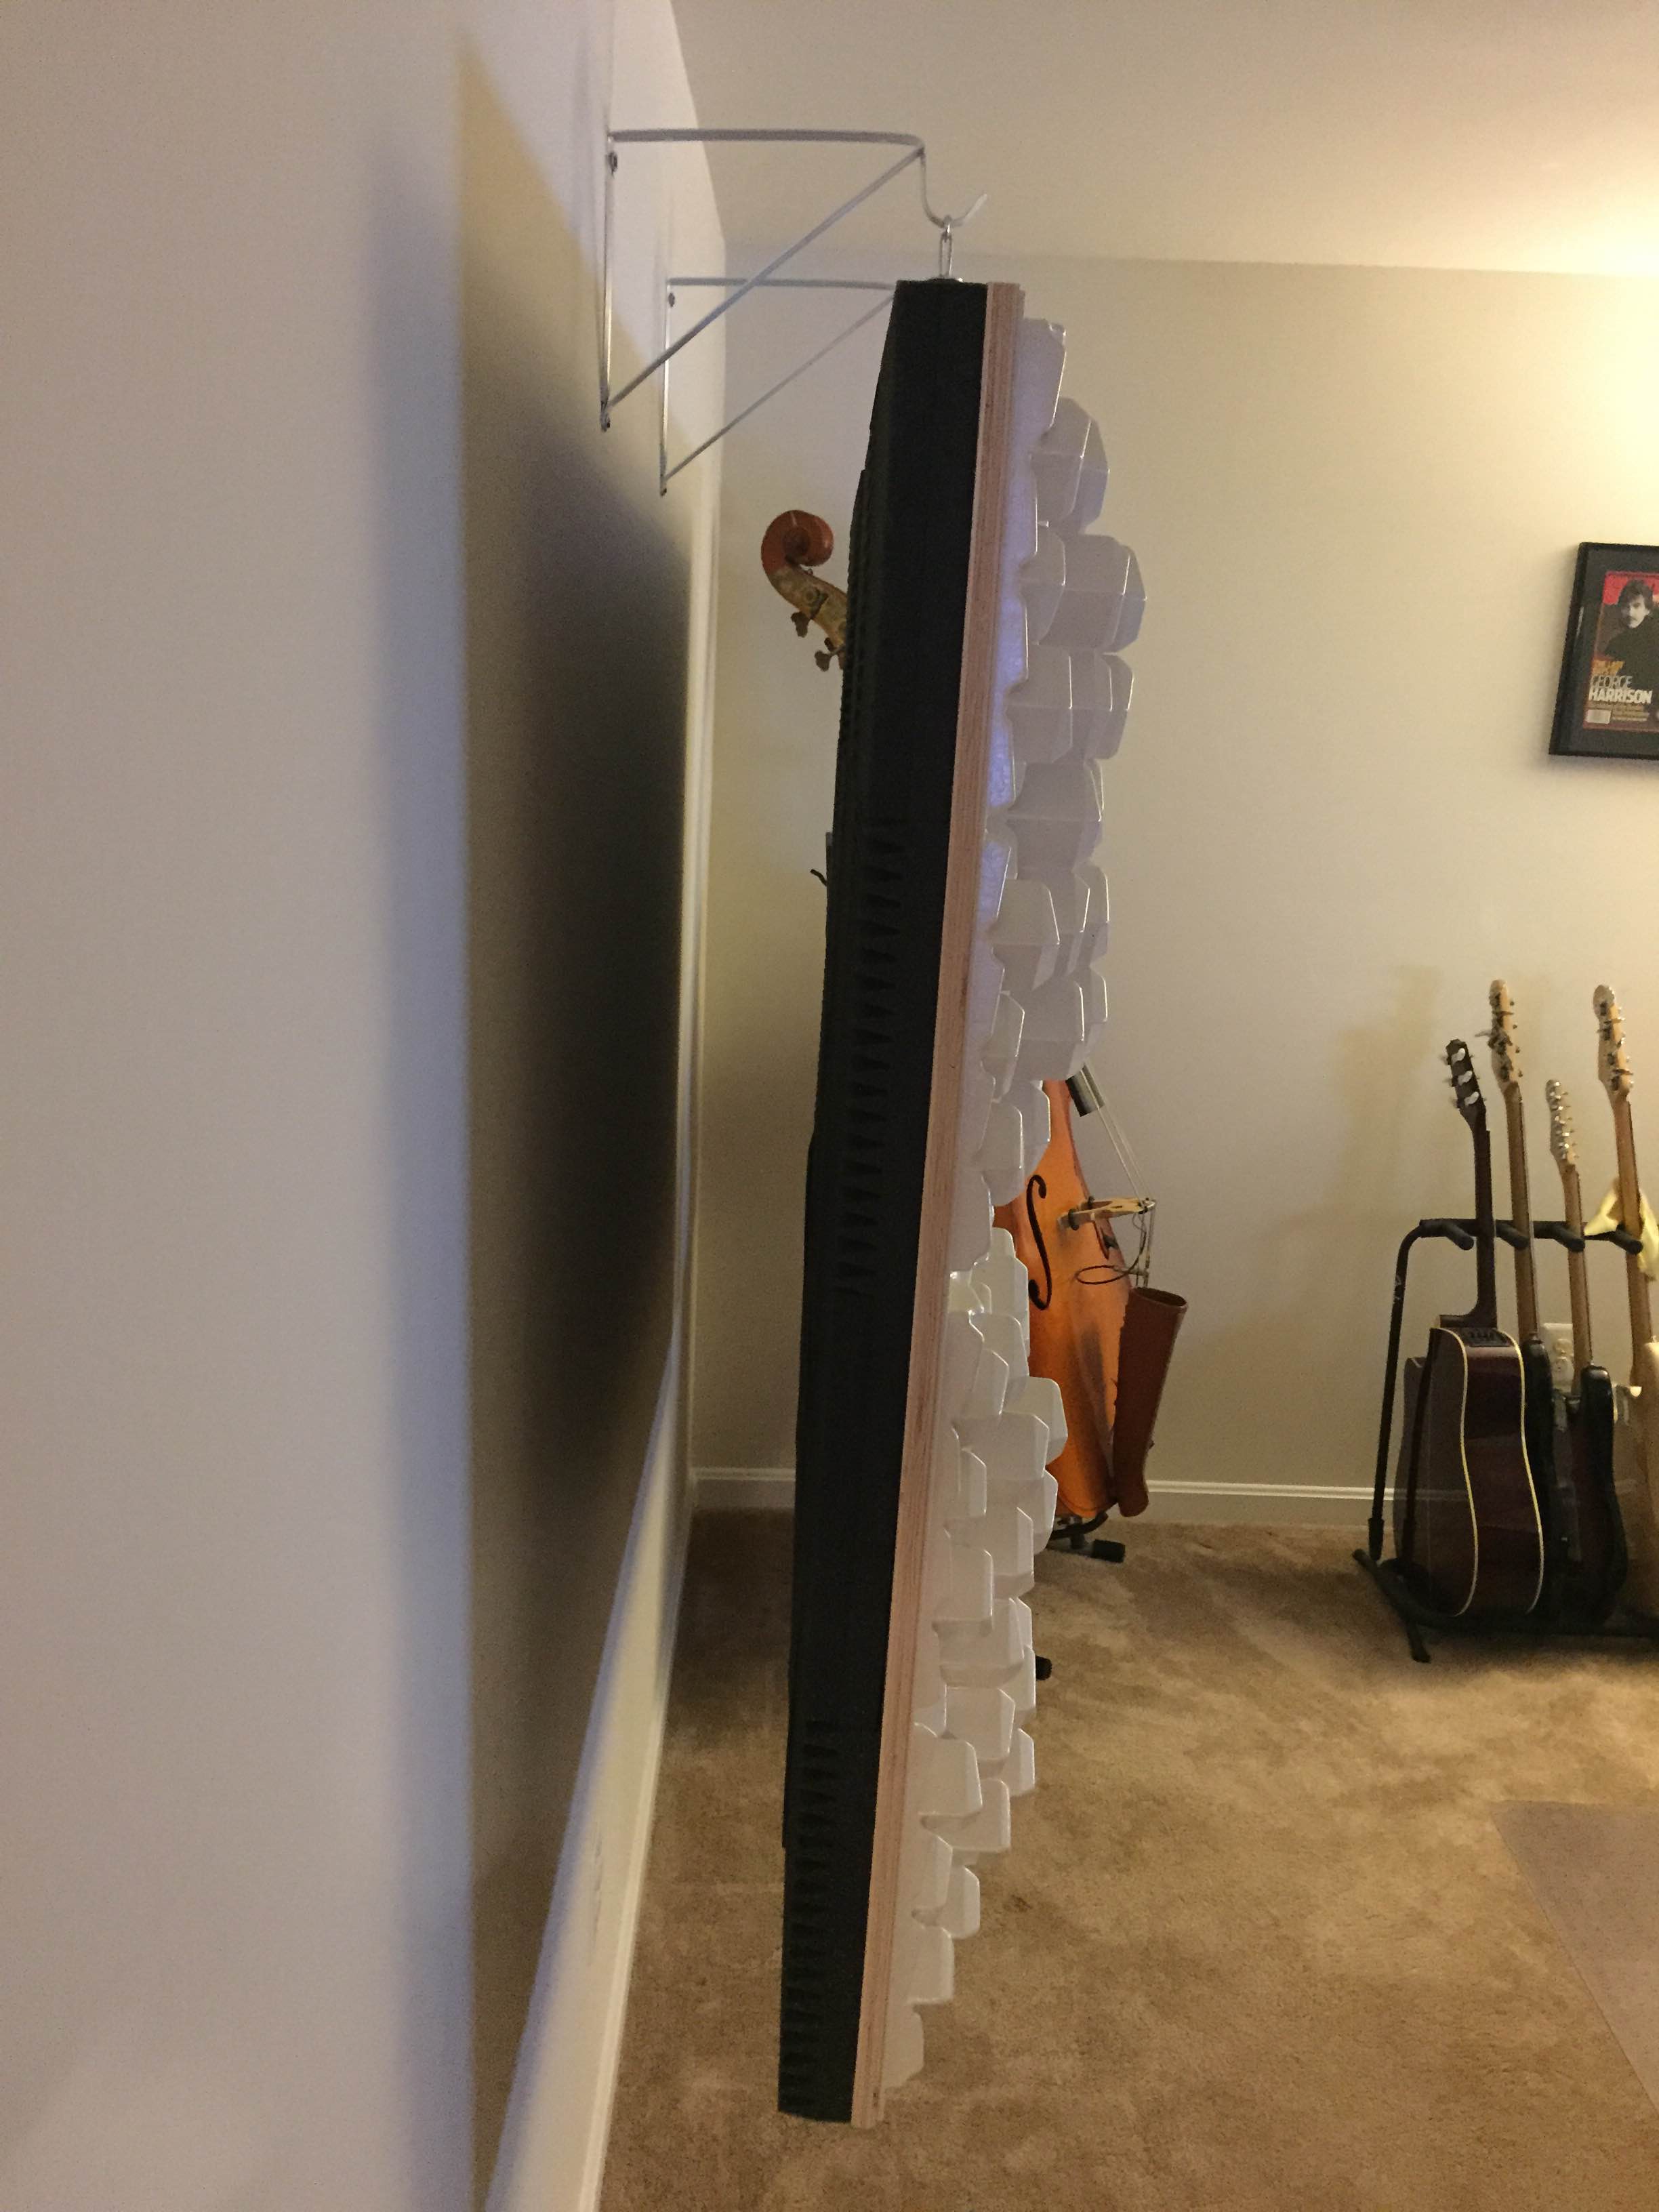
 This month we thought we’d share a few Real-Life pictures of an idea we first introduced back in summer of 2013: The “Back Wall Diffuser Array/Bass Trap”.

Isolation Hanger
This is the DIY project which incorporates our Art Diffusors®, Cutting Wedge® foam and a couple of isolation hangers into one large free-floating unit, which is acoustically decoupled from the wall.
This particular array was put together by a music producer/bass player for his home. As you can tell from the pics, the construction of this unit was executed beautifully and it’s very close to the original concept drawings.
It’s never too late to get started on your own DIY project.
 Real World – DIY |

Visit the Original DIY page to find out how to make your own.

You must be logged in to post a comment.