Archive for July, 2020
3 Years of the Aeolian® Sound Diffuser
Posted by Acoustics First in Press Release, Products, Uncategorized on July 23, 2020

3 Years of the Aeolian®
It may seem a lifetime ago, but we are celebrating the 3rd Anniversary of the release of the patented Aeolian® Sound diffuser. During development, our team ran numerous models and simulations, revising the design, and optimizing the performance to create the iteration we have today.
The development workflow of the design included computer optimized geometry, performance simulation, rapid prototyping, and full acoustic performance and validation testing. This was one of the first uses of this completed workflow, and while we are always refining our development processes, this was a huge leap forward.
We now look back at the release of the Aeolian® as a milestone in our history, where we developed something more than a product… we developed a better way to design a product.
Here was the original blog post about the Aeolian®.
Happy birthday.
DIY – Custom Absorber using Sonora® Black Tiles
Posted by Acoustics First in Absorption, DIY, Home Entertainment, HOW TO, Product Applications, Products, Recording Facilities on July 8, 2020
Let’s say you need some Sonora® Black scrim ceiling tiles for a home theater project, and you order a few extra – “just in case.” Now that the install is done (and you have a few left) you can do something with them… like making a cool absorber panel with lights!

With some DIY knowledge, you can make an absorber masterpiece!
Everyone will have a different vision, but the basic supplies are…
- Acoustic Absorber Material (ex. Sonora® Black Scrim Ceiling Tiles)
- Wood for frame
- Acoustically transparent material/fabric (This one uses a polyester fabric map)
- Material to enclose the back (fabric scrim)
- Wood to mount lighting (This is a 1″x 4″ with espresso stain)
- Lights (here are custom, black-pipe light fixtures, but use other lights if desired)
- Wiring (Wirenuts, electrical tape, lamp cord, etc.)
- Assorted screws, staples, hanging hardware, PPE and tools.
Note: This is not a detailed DIY, as everyone will have a different set of materials and project goals, but these will show the basic steps to create a panel like the one above…. Here we go!
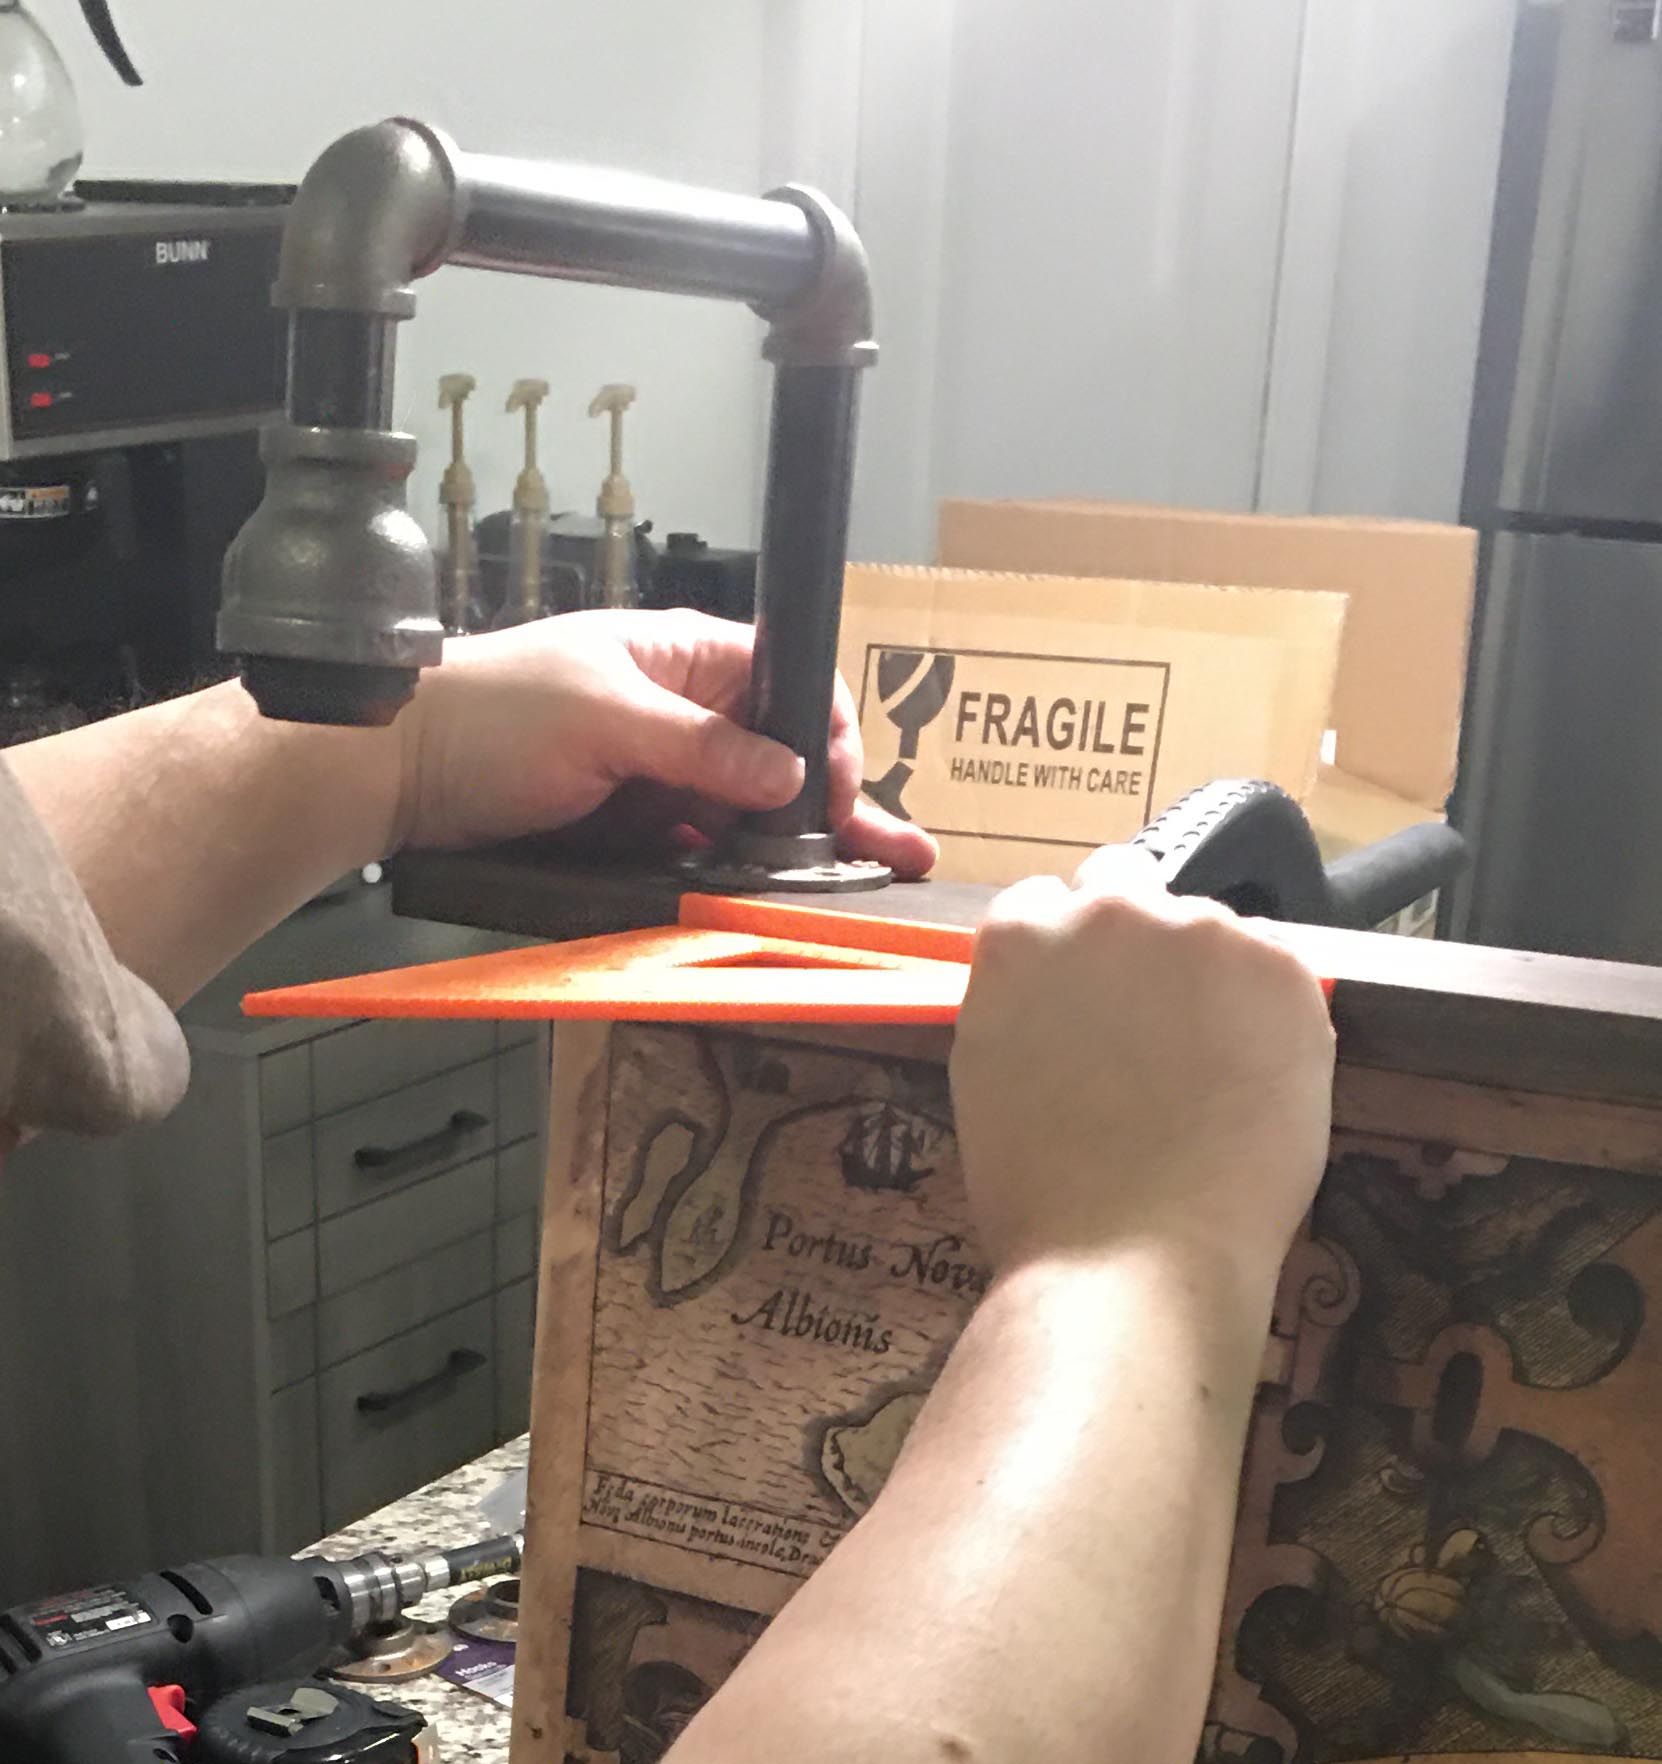
Cut the wood and make a frame that will hold the acoustic material, and the fabric to enclose it. Make the frame big enough to hold the material, and still be covered by the fabric. Make the frame as rigid as possible. Predrill your holes and make it square. Make it tight enough to hold the acoustic material with friction, but without crushing it.
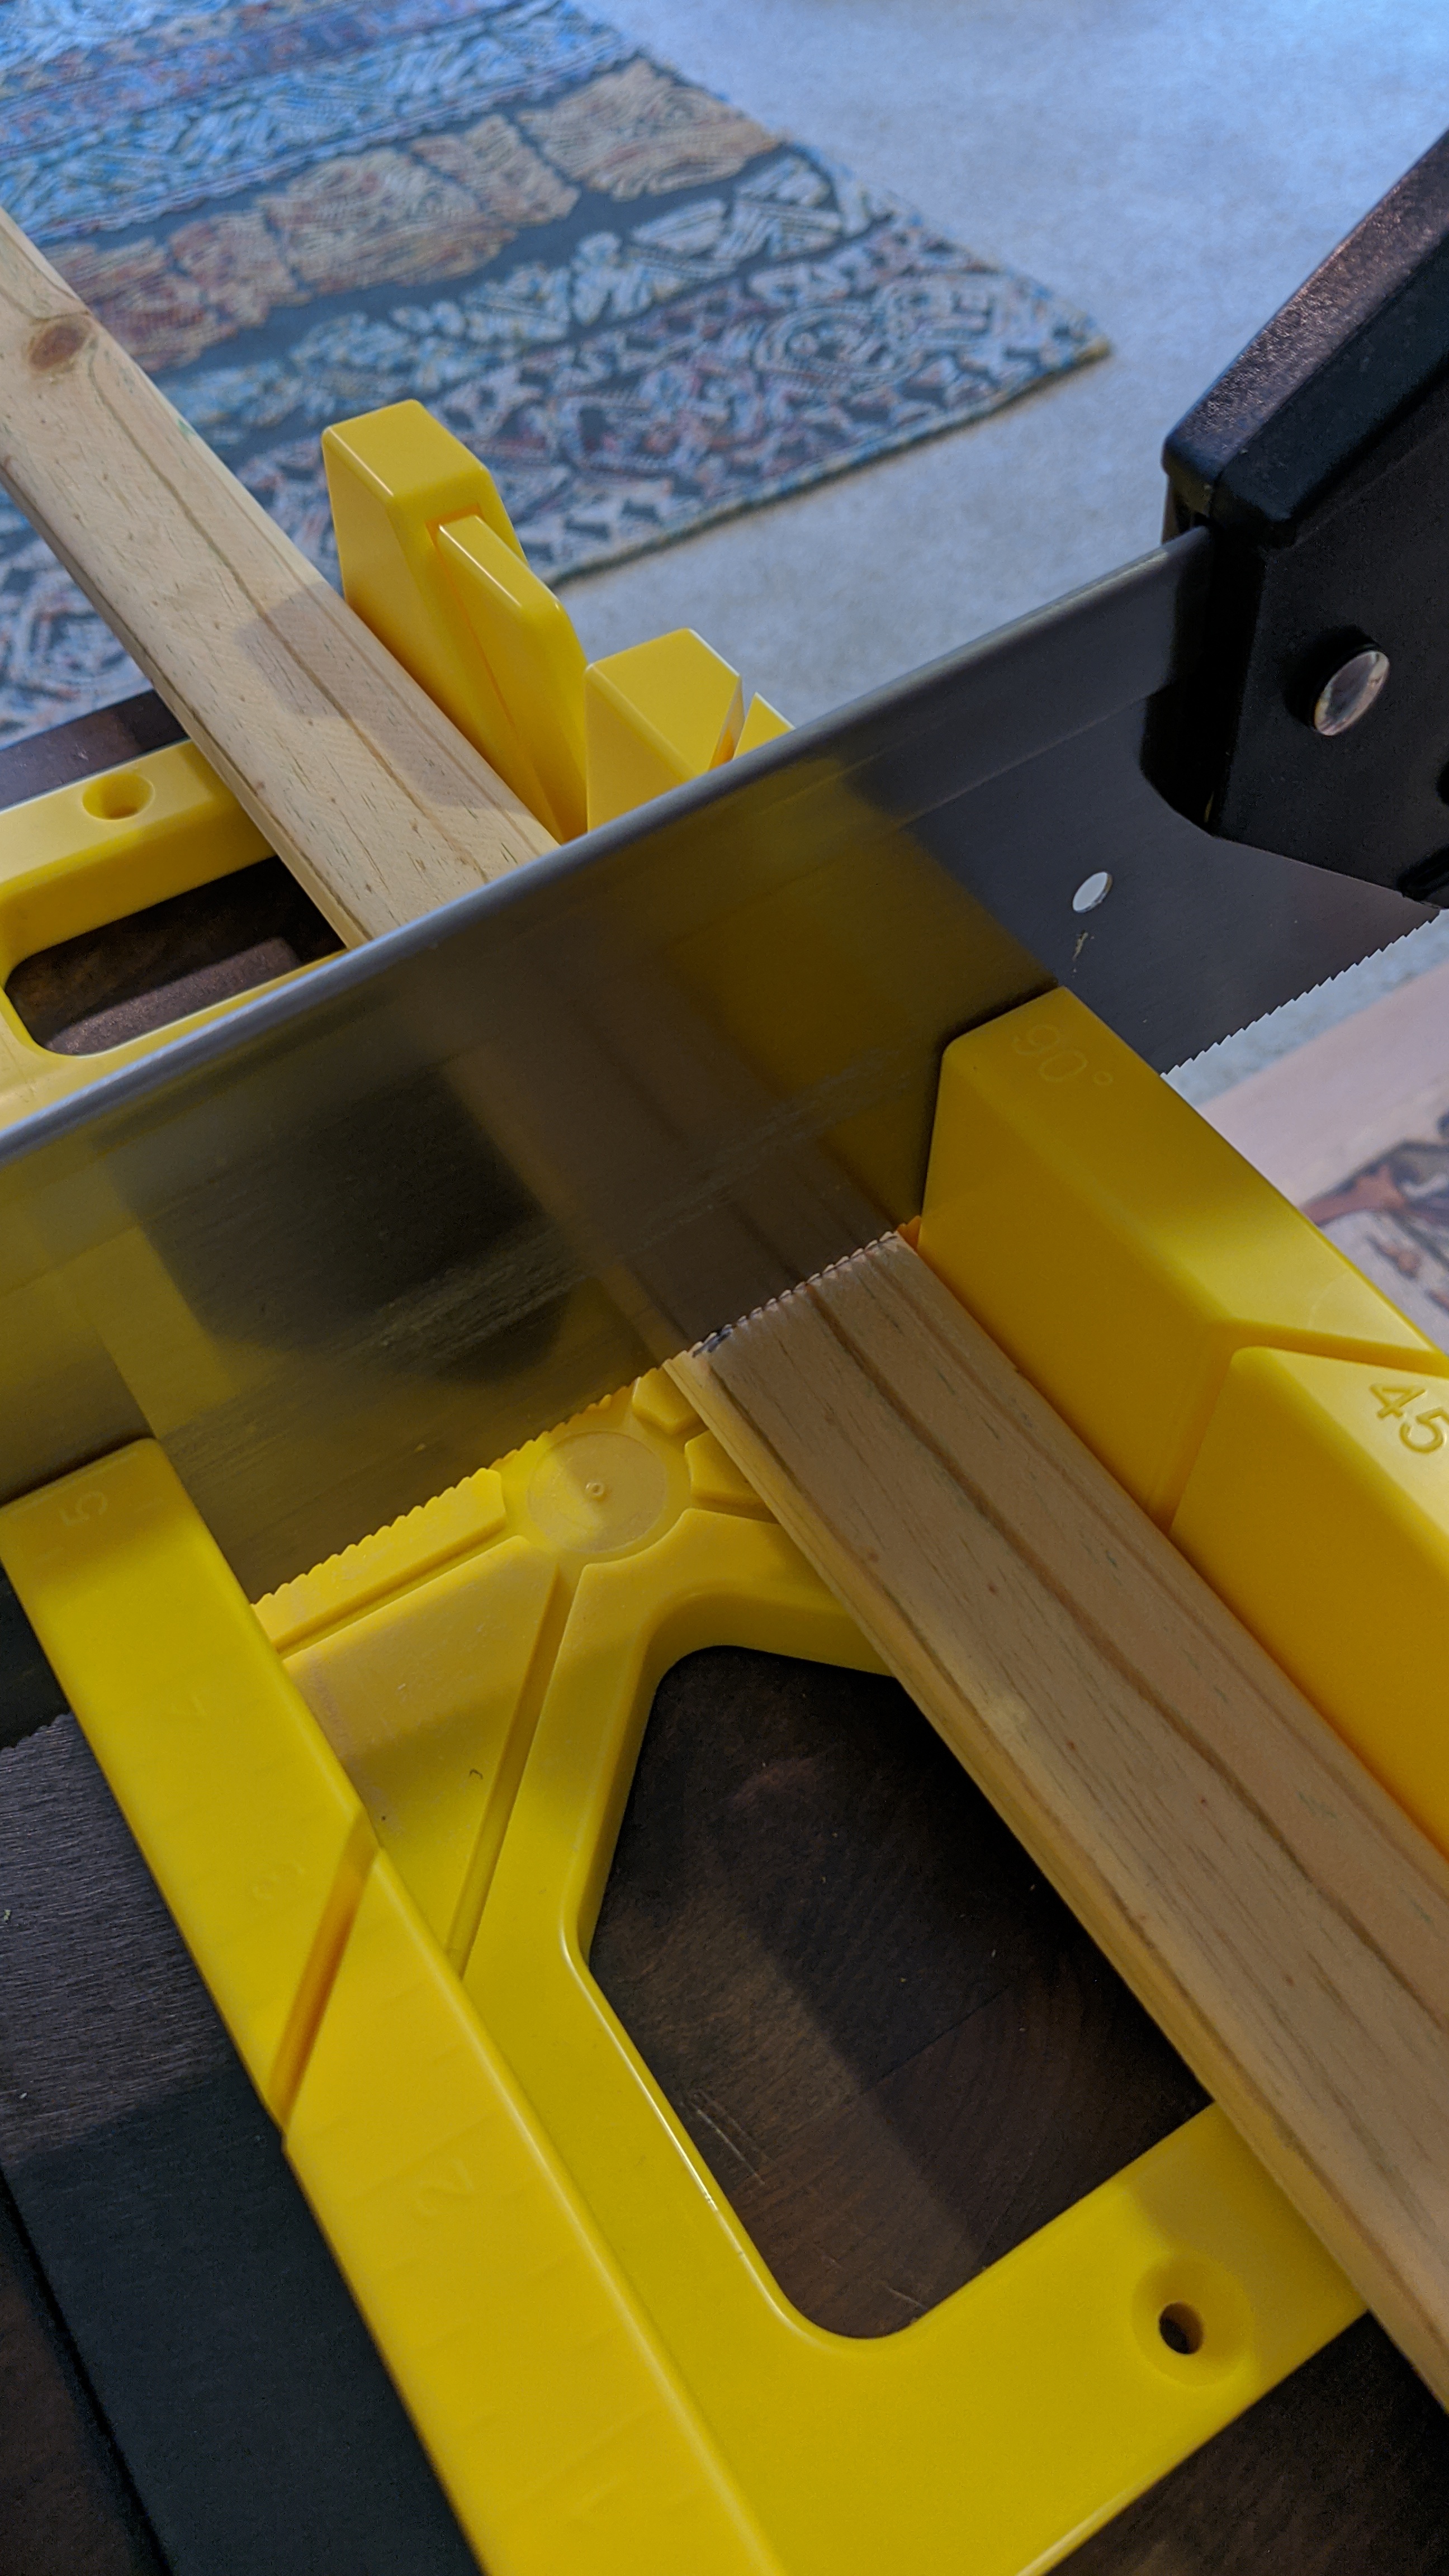
Cutting frame material using a miter box.
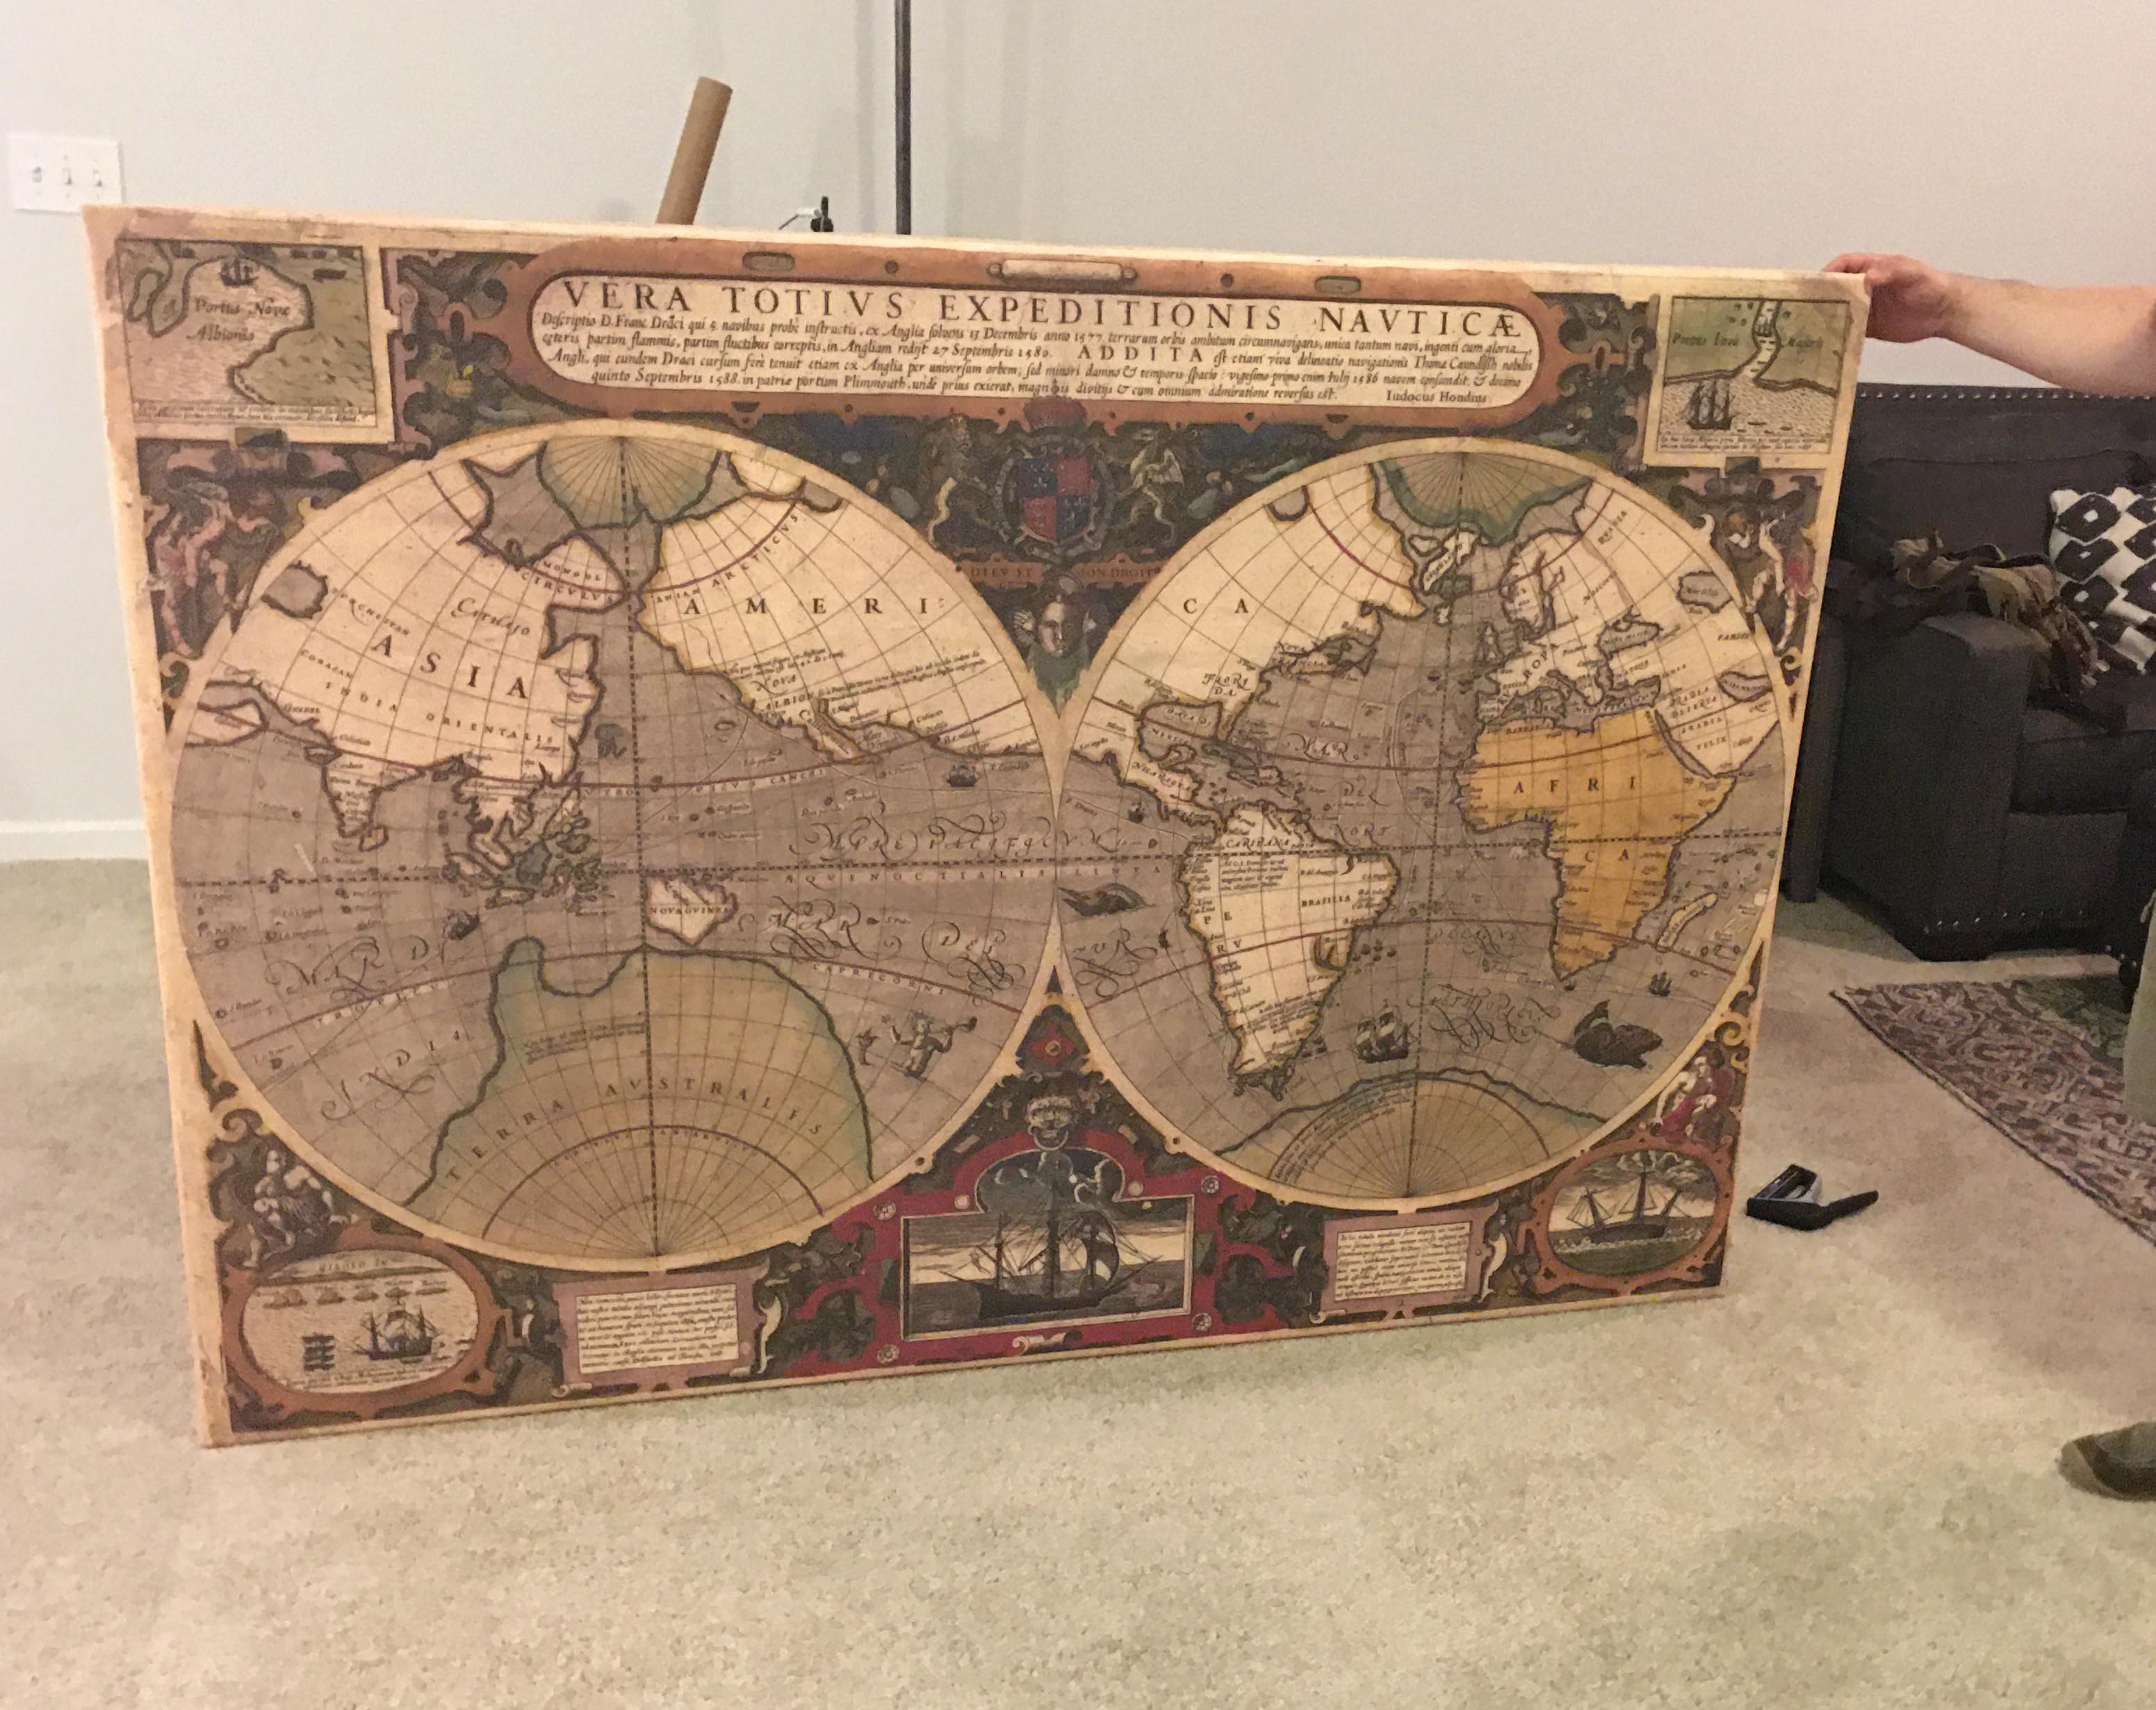
This design is an old map that was printed on a lightweight, polyester fabric banner material. This one is roughly 4′ x 6′ with extra material around the edge to wrap it around the back of the frame. It’s best to have your starting fabric oversize – the graphics sized to the frame, with a boarder wide enough to wrap to the back for fastening. (In this case we will simply staple it to the back of the frame.)
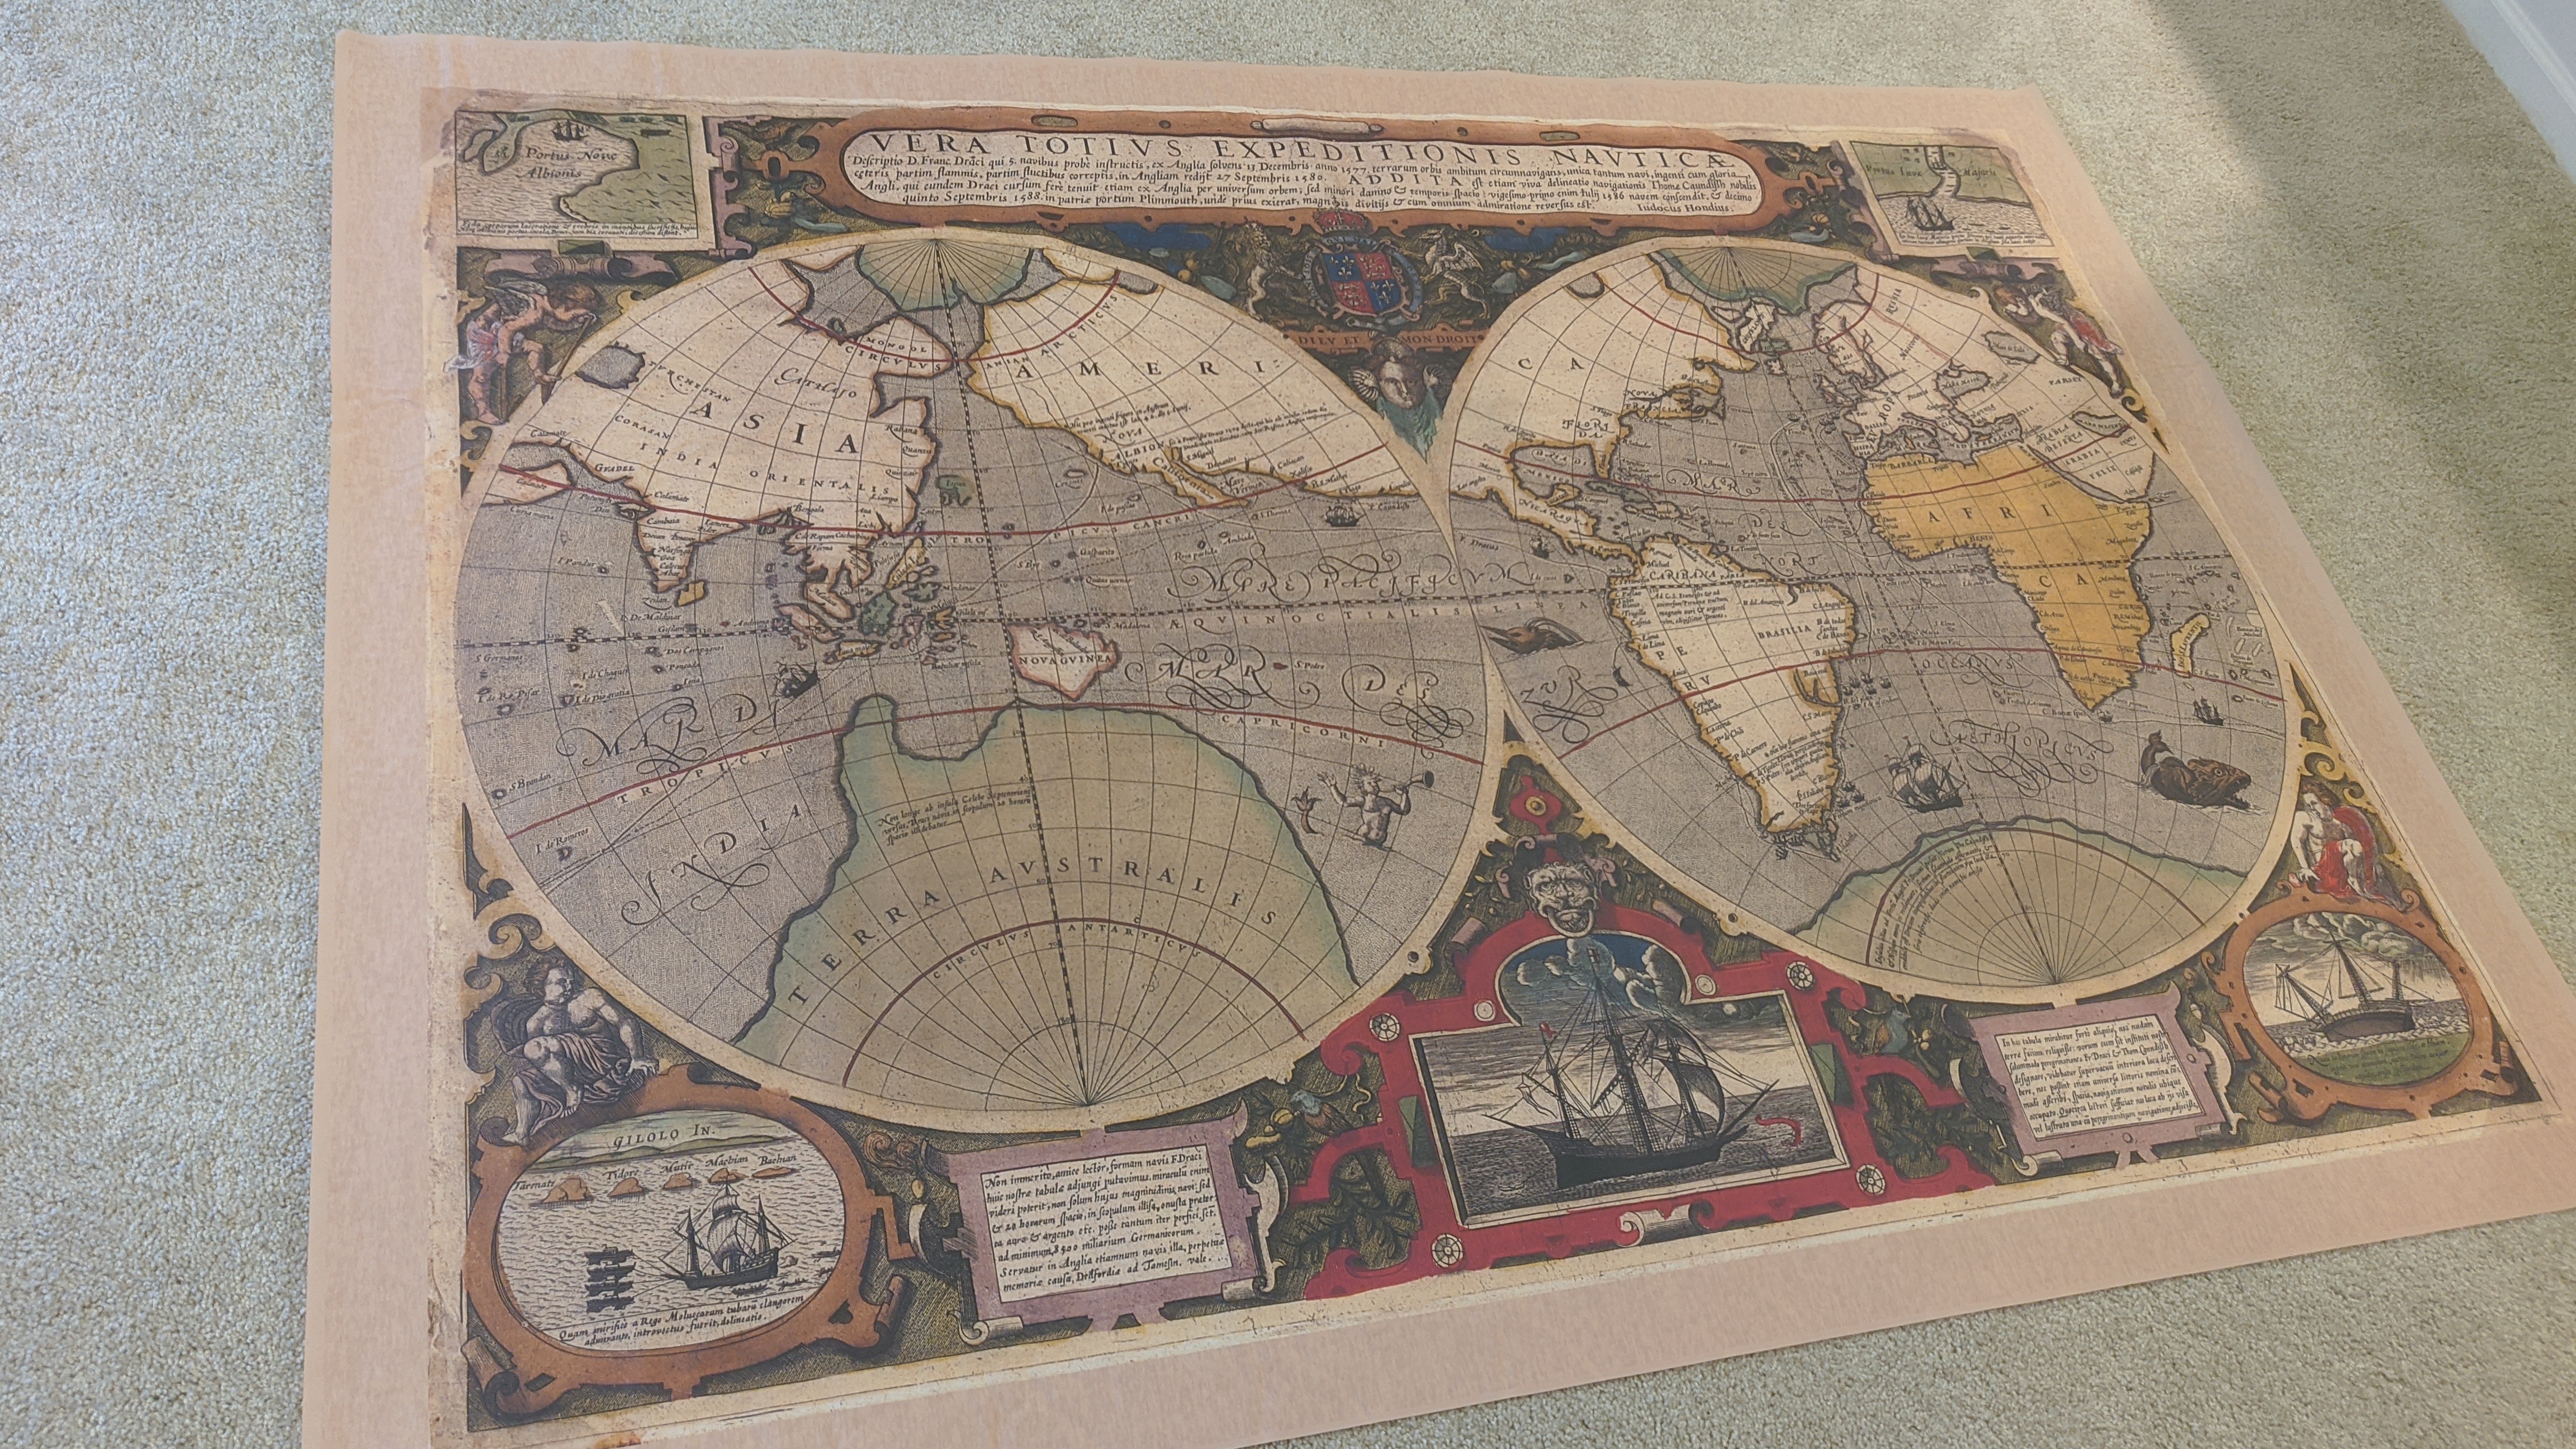
This is the printed fabric material that will be the face of the absorber.
Lay out the material and attach it to the frame. Be careful when putting the frame on the material. Take care in lining up the graphic to the frame, and keep an eye out for wrinkles and folds.

Put the face material face down.

Lay the frame onto the fabric, wrap the fabric to the back, and staple it to the frame.

Make the corners as neat as you can. Don’t spend too much time, this will be covered.
Fastening doesn’t need to be perfect on the back, but you do want it to be secure. Trim up the excess material if needed, and then flip it around and see what it looks like.
Now that you’ve attached it to the frame, let’s focus on the lights!
You could just fill it with the material and hang it like this if you didn’t want the lights, but this project is going the extra mile! We will attach a board to the top of the frame and attach the lights to that. This board will support the lights as well as the the frame. The hanging straps and rings will be attached to this as well, so don’t select a board that is too thin or flimsy.

Clamp a piece of wood to the top, like a mantle, and screw it to the frame.
How you mount the lights to the board and run the wires will be different if you are using different fixtures. This was made with 5 custom, black-pipe fixtures, that are basically just a flange, two 90° elbows, some pipe, and a lamp fixture mounted in a 1 1/4″ pipe reducer/coupler. Wire was stranded lamp wire (black and white), and it was left long to assist routing the wiring inside the panel.
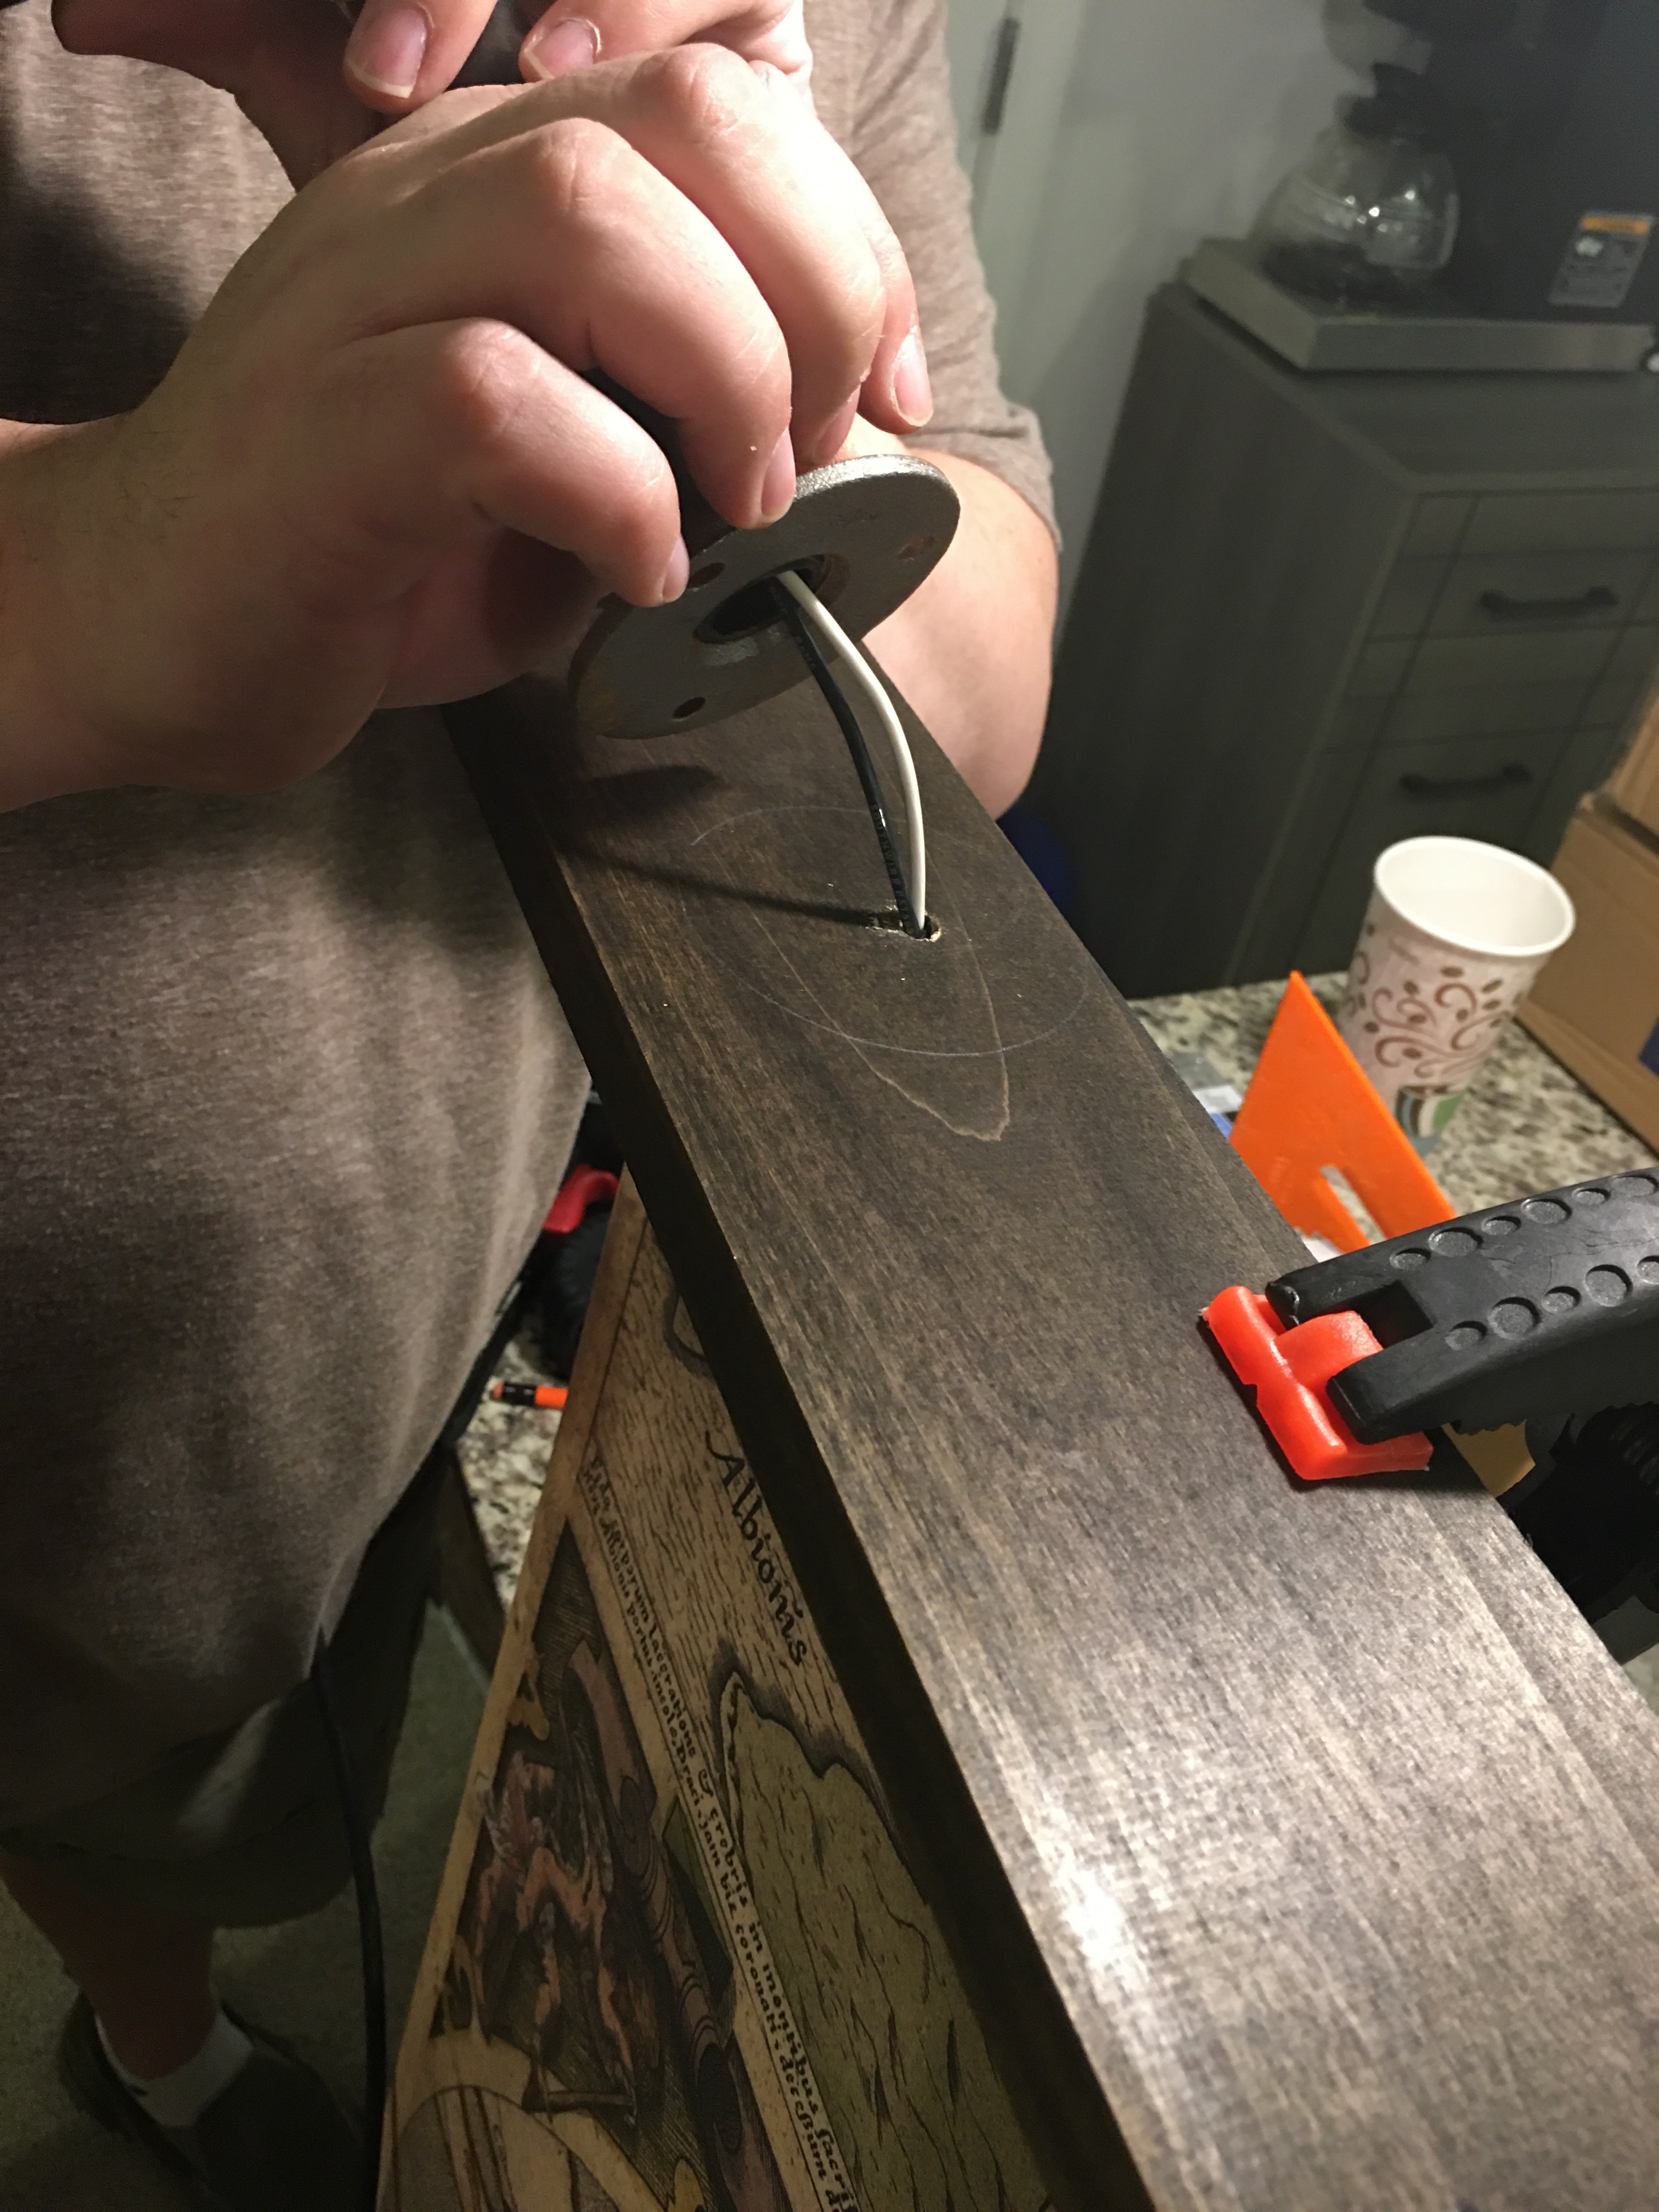
Mark the fixture location and drill a hole for the wire. Run the wire through the hole.
Orient the fixture and attach.
The flange on these lights had 3 screw holes. Some washers and wood screws were used to attach them to the frame. The remaining fixtures were then measured and mounted – paying close attention to keeping consistent spacing and orientation of the lamps.
Note: This will vary depending on the type and number of lamps you use.

Measure for the next fixture and repeat until all the fixtures are installed.
Now that we have all the fixtures mounted, let’s finish the wiring and put in the material!
(WARNING: If you are not comfortable with wiring – this is the point where you call in a friend, electrician, Wikipedia, or whatever other resource you use to make sure you don’t electrocute yourself, burn down the house, etc. Acoustics First assumes no responsibility for your DIY projects – but we wish you good luck!)

Flip the panel around to get at the wiring… hopefully you remembered to use long pieces!

Using wire nuts and electrical tape, wire all the black wires together and all the white wires together.
This wiring was all attached to a lamp cord that had a pre-molded plug, and readily recognizable hot (black) and neutral (white) wires. This entire fixture is being controlled by a smart outlet (“Alexa… Turn on the Awesome World Map.”), but could just as easily be hard wired to a junction box, or wired with an inline switch.
This is a good opportunity to test the lights and wiring, before installing the acoustic material and covering the back.
Now we can insert the acoustic material. Sonora® Black Scrim Ceiling tiles are easily trimmed to fit with a sharp knife. They are fiberglass! So… wear gloves minimize exposure to the fibers.

Test the lights then insert the acoustic material into the frame (Sonora® Black Scrim ceiling tiles) and organize your wires.
Covering the back of the panel will keep the Sonora® tiles in place, and keep any stray fibers from escaping. This will also make the panel easier to move in the future – without worrying about the tiles falling out or snagging on the wires.
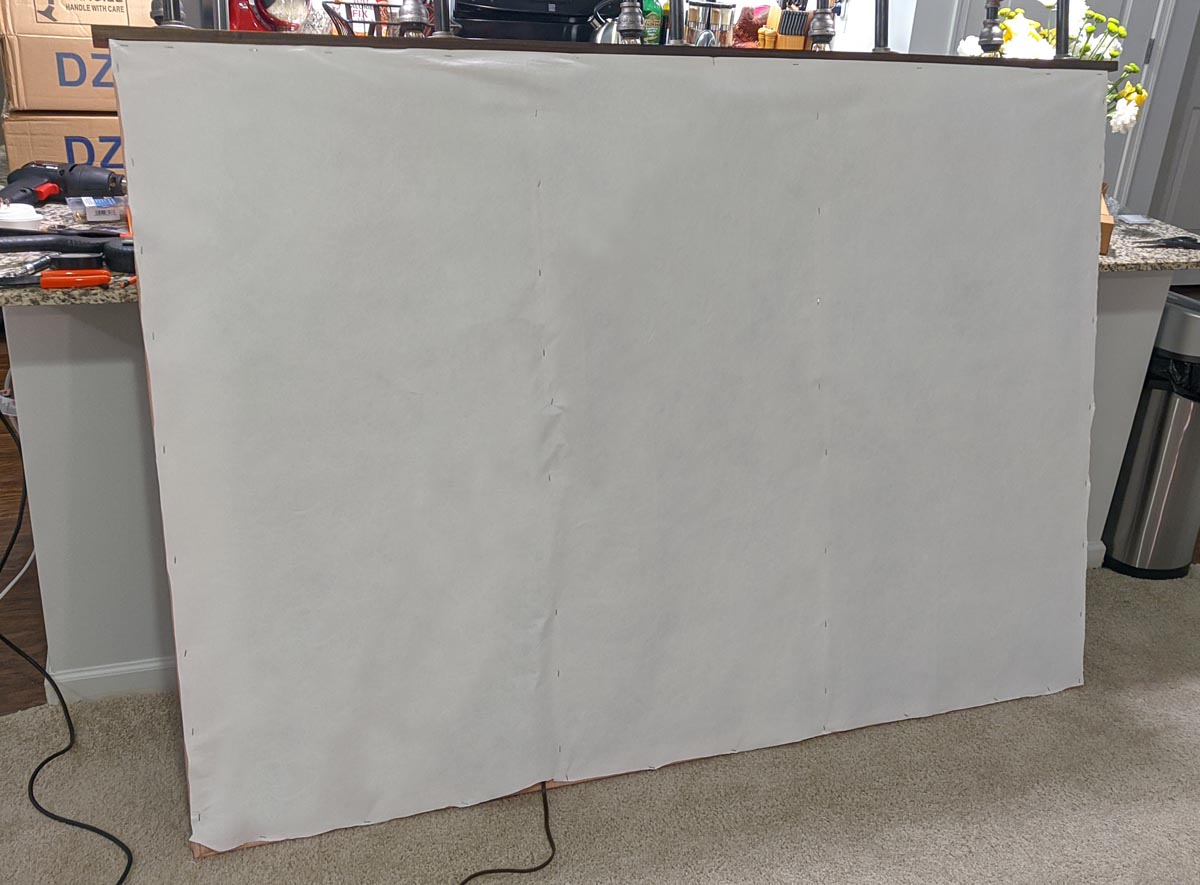
Trim the excess off. It doesn’t need to be pretty back here, remember this will be up against the wall.

Cover the back of the panel with material and staple it into place.
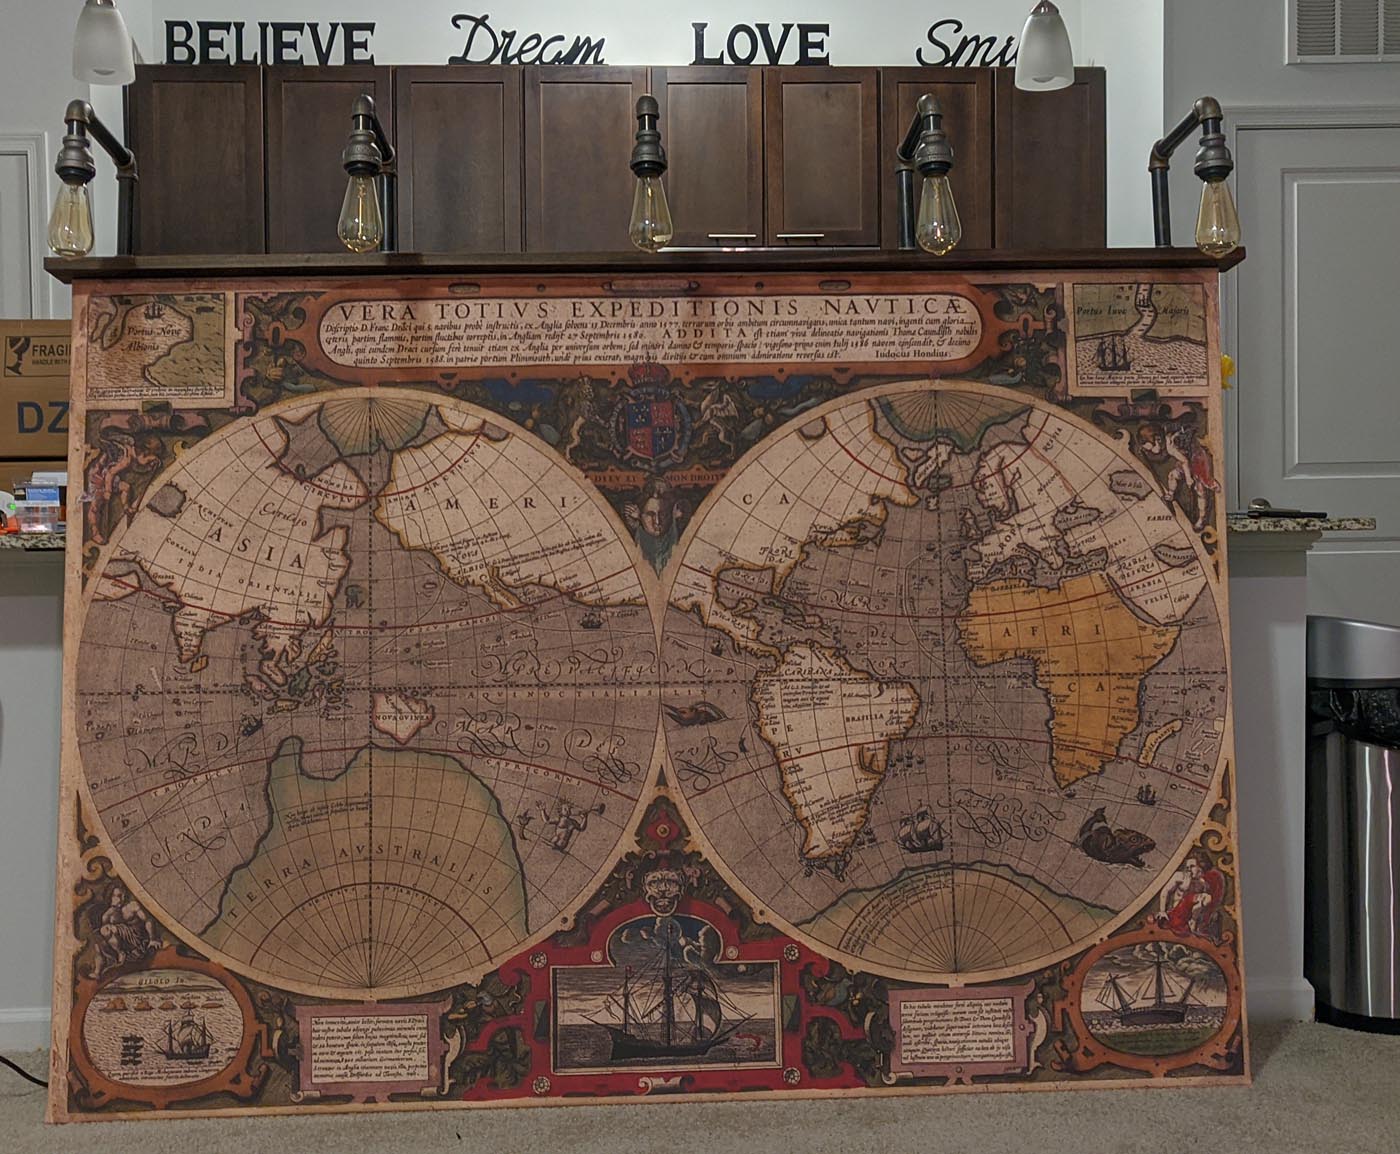
Spin the map around…

…and enjoy the glow…
The hardware used to hang the panel will depend on a few different factors – wall construction, stud availability, final panel weight, etc. Make sure you use appropriate hardware for your environment. In this case the final panel weighed less than 30 lbs, and the decision was made to use drywall anchor hooks and industrial hanging eye loops.

Making sure the panel is level, and hang it on the wall! Then, sit back and enjoy the great looks and improved acoustics!
Now is a great time to get up and do some creative home improvement projects! Improve the acoustics of your home theater, living room, or home office… and have a cool new focal point for your space.

You must be logged in to post a comment.