Posts Tagged sonora panels
Acoustical Considerations for Classrooms
Posted by Acoustics First in Absorption, Articles, Classrooms, Product Applications, Products, School & Educational Facilities, Teaching Rooms on September 19, 2024
Poor classroom acoustics has long been the invisible problem that has the farthest reaching implications for learning. Excessive noise and reverberation degrade speech intelligibility, resulting in reduced understanding and therefore reduced learning. In many classrooms in the United States, the speech intelligibility rating is 75% or less. That means, in speech intelligibility tests, listeners with normal hearing can only understand 75% of the words read from a list. Imagine reading a textbook with every fourth word missing. Wouldn’t that make comprehension near impossible? Fortunately, poor classroom acoustics can usually be remedied with some basic knowledge and commercially available treatment. But before getting into specific treatment, let’s go over some basic acoustic principles.
Noise
Obviously, it’s difficult to understand what the instructor is saying when there is a lot of naturally occurring noise in the room. A glut of factors can be considered noise sources, including HVAC “rumble”, traffic outside the building and students moving in their chairs. These sources contribute to a “noise floor” that makes understanding speech very difficult. Since there is no one “cure-all” for an excessive noise floor, it is often best to seek the assistance of a professional acoustical consultant to properly diagnose and find a solution to these issues.
Reverberation: Undesirable vs Useful Reflections
When not attributed to a noise issue, the culprit of poor classroom acoustics is often excessive reverberation. In simple terms, reverberation is the sound energy that remains in the listening environment as a result of lingering reflections. As mentioned before, these reflections can easily interfere with speech intelligibility. As you may have experienced at some point, it can be difficult to understand what is being said when reflections from old information cover up what is newly spoken.
The reverberation time (RT or RT60) is used to determine how quickly sound decays. The RT is dependent upon the volume and surface materials of a given room. Large spaces with hard materials (tile, drywall, etc.) have longer reverberation times, while small rooms built with “softer” materials sound more “dead”. Ideally, classrooms should have relatively short RT’s, somewhere in the .6-.8 second range.
A long reverberation time is not the only factor that should be considered when treating a classroom with poor acoustics. Flutter echo is a particularly significant problem when it occurs between the side walls at the front of the classroom where the teacher is speaking. This condition can be heard as a “ringing” sound (when one claps) as the sound rapidly bounces back and forth between two parallel walls. Flutter and other discrete echoes are considered “undesirable reflections” and should be controlled with absorptive or diffusive materials.
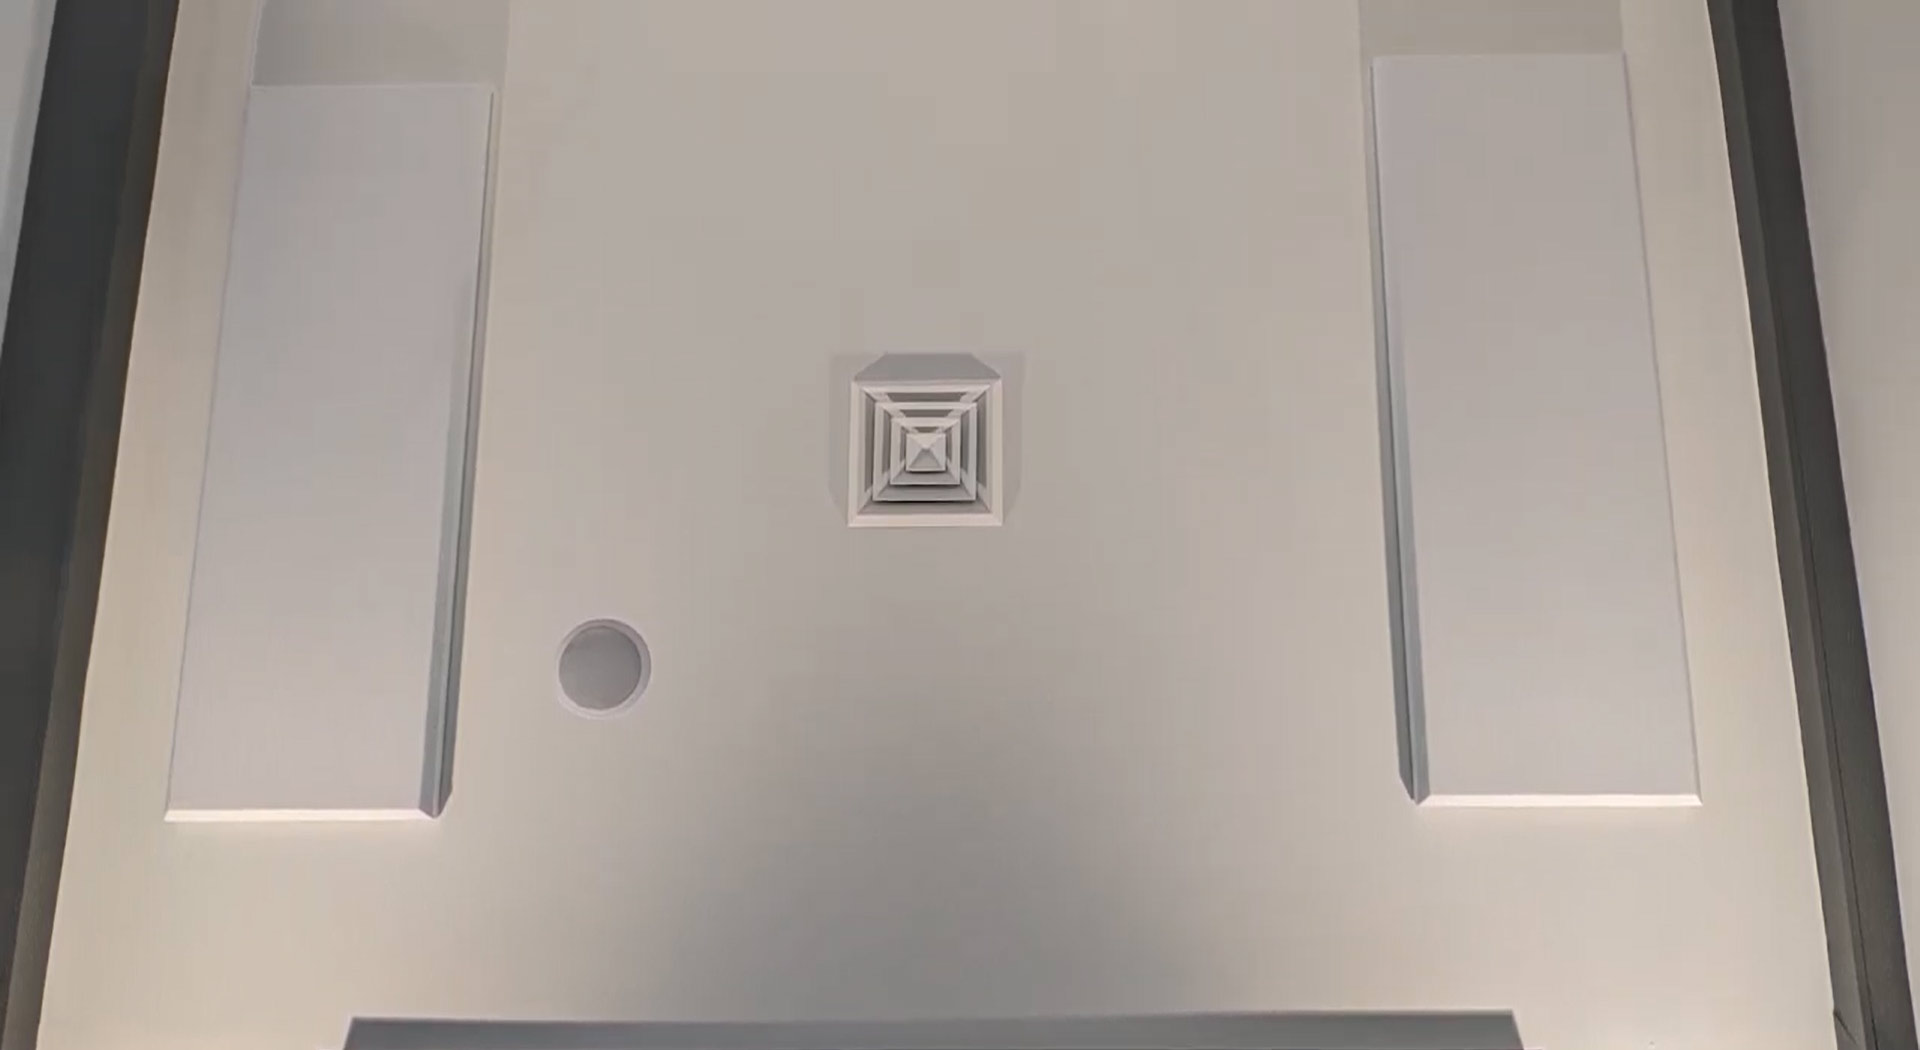
Not all reflections are bad though. There are “useful reflections” that reinforce spoken word, rather than cover it up. The teacher’s voice can be propagated throughout the room by shaping a sound reflecting gypsum board ceiling over the front of the room or by making the center of the ceiling a hard, reflecting surface (see figure 1). This will help project the speaker, so they don’t have to strain their voice to be heard over the students.

Reducing Reverberation
Often reducing the dimensions of a classroom to attain a more suitable reverberation time is not feasible, but one can improve the acoustics by introducing sound absorptive materials. Typical classrooms usually have a dropped “acoustical” ceiling that has some absorptive qualities. In classrooms that don’t have this ceiling, reverberation can be reduced by installing an acoustical ceiling or a number of fabric faced fiberglass panels, like Sonora® Ceiling Clouds. Likewise, if there isn’t carpeting in the room, you can marginally reduce the reverberation time by installing sound absorptive flooring.
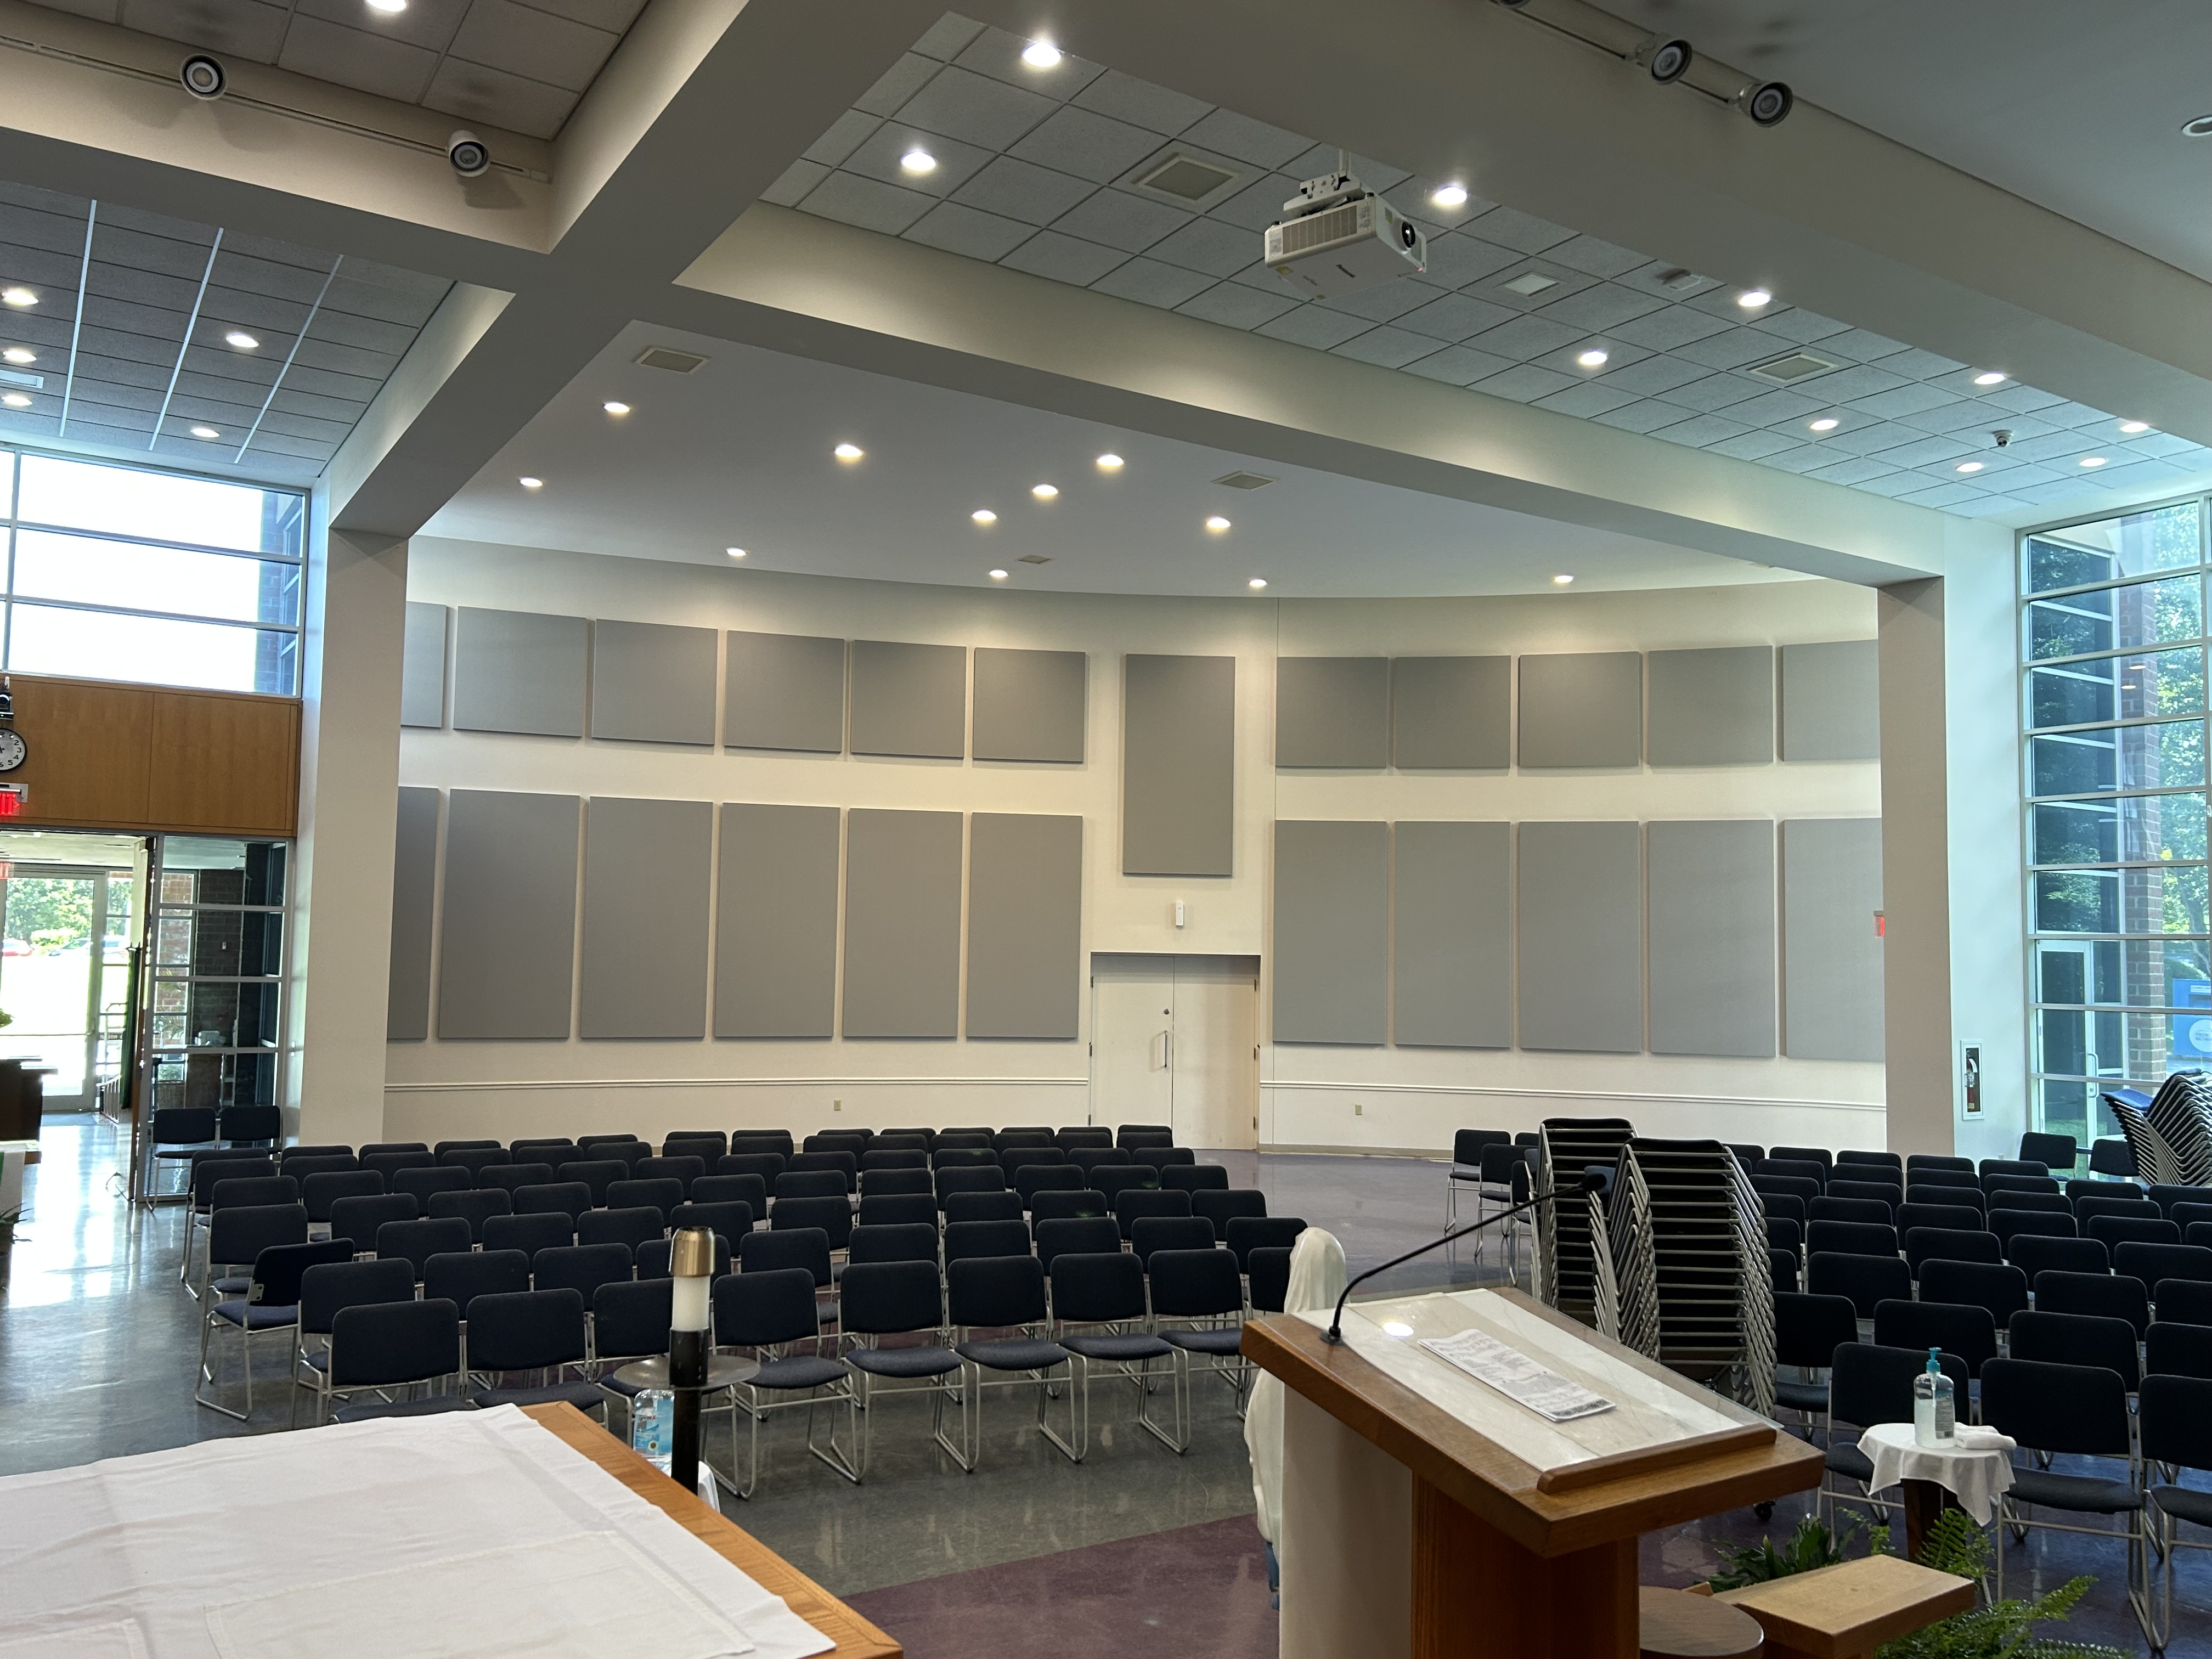
Wall treatment: Acoustic Panels
If the ceiling and floor are at least rudimentarily treated, then hard walls are usually at fault for poor speech intelligibility. Absorptive wall panels, like Acoustics First Sonora® panels, are a common treatment to control lateral reflections and reverberation.
These panels are popular because they can be customized with a variety of colors, edge designs and fabric facings. They also can come with a high-density fiberglass adder that improves durability. In classrooms, these “Hi-impact” panels are particularly useful because the adder allows for the panels to be used as tack boards. This brings an extra level of functionality to the panels outside of their absorptive properties.
Though wall panels are a perfectly suitable treatment, uncovered areas between the panels can sometimes allow a few hard reflections and/or flutter echo to still occur (although full treatment of the walls would likely result in a room sounding too “dead”). For these situations, Acoustics First often recommends Sound Channels® acoustic wall fabric.

Acoustical Wall Fabric
In many instances, acoustic wall fabric is actually a viable alternative to traditional wall panels. Unlike a typical “wall carpet”, Sound Channels® is made of 100% recycled content and has ridges to increase surface area and absorption. Perhaps most importantly, the uniform coverage you get by treating the walls with acoustic wall fabric eliminates the flutter/slap from reflective parallel walls (without making the space too “dead”). Acoustic wall fabrics are generally light weight and most can be put up just like any other wallcovering.
Also of note are the additional benefits when using Sound Channels® in early education classrooms. The effective range that this wall fabric controls is the higher speech frequencies, which is the ideal range for classrooms with younger children (there are not many bass/baritone kindergarteners). Another advantage is in keeping the treatment clean. Wall panels may suck up sound, but they can also absorb fluids (like the occasional juice box). Sound Channels®, on the other hand, is resistant to moisture, mildew and rot. It is also is non-allergenic, easy to clean, and is highly resilient to common wear.
Acoustical Considerations for Classrooms
Although this knowledge has been around for decades, classrooms across the country continue to be plagued by a lack of acoustical forethought. Perhaps as this information becomes more readily available to architects, contractors, administrators and teachers we will begin to see (and hear) better sounding classrooms. School is challenging enough on students and teachers as it is, let’s not compound their daily obstacles by continuing to overlook classroom acoustics.
(Originally published in Christian School Products Magazine – November, 2015)
Why use a mix of objective and subjective goals to make a great sounding space?
Posted by Acoustics First in Articles, Media Room, Music Tracking Room, Recording Facilities, Recording Studio, Studio Control Room on July 30, 2024
With the ability to measure and analyze every detail of an acoustic environment, sometimes we forget about the basic fact that it should sound the way we want it to sound. There are scenarios where objective measurement is important, desired, and even required. If there is a physical safety concern that may damage hearing ( loud noises, machinery, etc.), a need to have safety information understood (evacuation/safety notices or alarms, etc.), absolute sound privacy is required (HIPAA regulations, government security, or legal need…), or the need for speech clarity for education… often we require some guidelines be met to insure the acoustics meet a decided standard for performance. These standards use objective measurement and data to make these determinations. There isn’t a governing body that regulates how your home theater should perform, or how an office needs to sound (beyond the safety and privacy concerns mentioned above.)

Entertainment venues, theaters, churches, commercial spaces, restaurants, offices, and residential spaces have very little regulation, and while there are many occasions that testing is used to improve the performance of these spaces, there are some environments where the effort to measure and quantify everything can get in the way of the goal of making a great acoustic space. If you wanted to compare different small “critical listening environments” (mixing and mastering studios are examples of these), there would be some general commonalities in their construction and treatment. Many are built to minimize parallel reflections, have short reverb times, symmetric placement of source speakers, control first reflections, and balance the frequency performance of the space.
A “ruler-flat” frequency response shouldn’t be the acoustic goal.
“Balancing the frequency performance of a space” doesn’t mean “attain ruler-flat frequency response across the entire human hearing range.” There are several reasons that the “ruler-flat” interpretation is counterproductive – the first being that it is nearly impossible to attain in any room. Second, is that everyone perceives sound differently. As humans age, almost all people will experience some degree of “presbycusis,” which is slow decline in high-frequency sensitivity that comes with age. If you are lucky enough to reach a ripe old age, there is a 60% – 80% chance (depending on the study you read) that your high-frequency hearing won’t be what it was when you were young. But even with that factor removed, when your hearing was at its best, your personal perception of sound is different from every other person – making sound, by definition, subjective.

The closest you can get to ruler-flat performance is to remove the room entirely and get some high quality headphones – but you may still find yourself tweaking the equalization curve to your preference. There are many people who feel that headphones sound unnatural, or that they are uncomfortable to listen to for long periods of time. Even the best mixing studios are not completely flat. Also, you will see many different sets of speakers in these spaces… or even headphones. These different sources are to compare how a mix will sound in different environments… and that the mix will “translate” in different listening scenarios. These environments which people will listen to music in vary to include outdoors, bathroom, kitchen, movie theater, grocery store, car, truck, SUV, convertible, living room, and more… coming from sources like phone speakers, headphones, assistants like echo and Google, bookshelf speakers, sound bars, audiophile equipment, movie theater sound systems, and an array of automotive audio systems.

Start with the basics.
If you are making a space for critical listening, there are some objective guides that will help you. If building from scratch, build with a geometry that will reduce room modes and parallel surfaces. Reduce reflections that will interfere with the source. Reduce reverb time. Control the bass response to reduce build up. These can all be readily calculated, measured, and controlled with bass traps, absorption, and diffusion. Most of the time, just following these objective guides will get you a room that will sound subjectively “good.”
After you get that far, you could continue trying to measure the room and tweak the performance to try and attain the unattainable ruler-flat response… or you could listen to music in your room and decide with you ears what should to be done to make it sound how you want. There are many subjective arguments people make about why they think something sounds better. There are philosophical arguments about listening to it “as the engineer/artist intended.” There are debates about if you should equalize music at all – even if you are in the majority of the aging population who may need to give the high-frequencies a nudge to experience the sizzle of Stevie Wonder’s glorious high-hat mastery.
When it comes to your own space… if it sounds good to you… it’s right. By following a few objective guidelines to get you in the arena, you can tweak the last bit with your ears until you are experiencing the material the way you prefer it to sound.
St. Mary Magdalen Worship Center – Kerfed panels to fit curved walls!
Posted by Acoustics First in Absorption, Product Applications, Products, Worship Facilities on June 28, 2024
The Mary Magdalen Mission Center has an oval-shaped sanctuary that was experiencing extremely poor speech and music clarity. Their Worship services are traditional leaning (spoken word, piano and congregational singing) with the occasional contemporary music service.

Parabolic Focusing – A primary feature of the sanctuary are 4 large curved walls (two at the front and two at the rear). Concave, uniform, curved surfaces are very problematic in room acoustics. Curved surfaces “focus” sound reflections to a point, akin to a magnifying glass focusing light passing through the curved lens.
If you’ve ever stood in the center of dome, you’ve probably experienced a few interesting acoustic anomalies. First is the “whisper” effect, where sound produced near the foci of the dome/curve, is amplified, allowing a faint whisper to be heard throughout the room (and conversely, all the sound produced in the room focused to this point, causing a cacophony of reflections at the center foci) . Another is the “creep” effect, where sound produced at the edge of arc, travels along the curved surface, losing little energy until it reaches the opposite end of the arc.
Not only do the hard wall and floor surfaces of the Mary Magdalen Mission Center contribute to excessive sound buildup, but the parabolic focusing from the curved wall surfaces caused extreme comb filtering (pockets of destructive and constructive interference as a result of overlapping waves), exacerbating intelligibility issues. These conditions contribute to an acoustically uncomfortable environment in which music is hard to perform and enjoy while speech is also difficult to understand.
To significantly reduce excessive reverberation and destructive reflections, we recommended installing approx. 1200 SQFT of 2” back-scored Hi Impact Sonora Wall Panels across the rear wall surfaces. We specified kerfed/back-scored Hi Impact Sonora Wall Panels that can “bend” to fit curved surfaces and come with a high-density adder that improves acoustic performance and durability. View Sonora Panel information on our website.
https://www.acousticsfirst.com/sonora-wall-panels.htm
Reverb Predictions – Worship spaces of this size with a blend of traditional and contemporary music should have a reverb time below 1.6s. We entered the room’s dimensions and construction materials and made a prediction of reverb times before and after treatment. In addition to controlling distracting echoes and comb filtering, installing approx. 1248 SQFT of 2” Hi Impact Sonora wall panels across the rear wall reduced reverberation by approx. 35%, significantly improving speech intelligibility and music clarity.
Sonora® Wave Clouds
Posted by Acoustics First in Absorption, Auditorium, Product Applications, Products on May 20, 2024
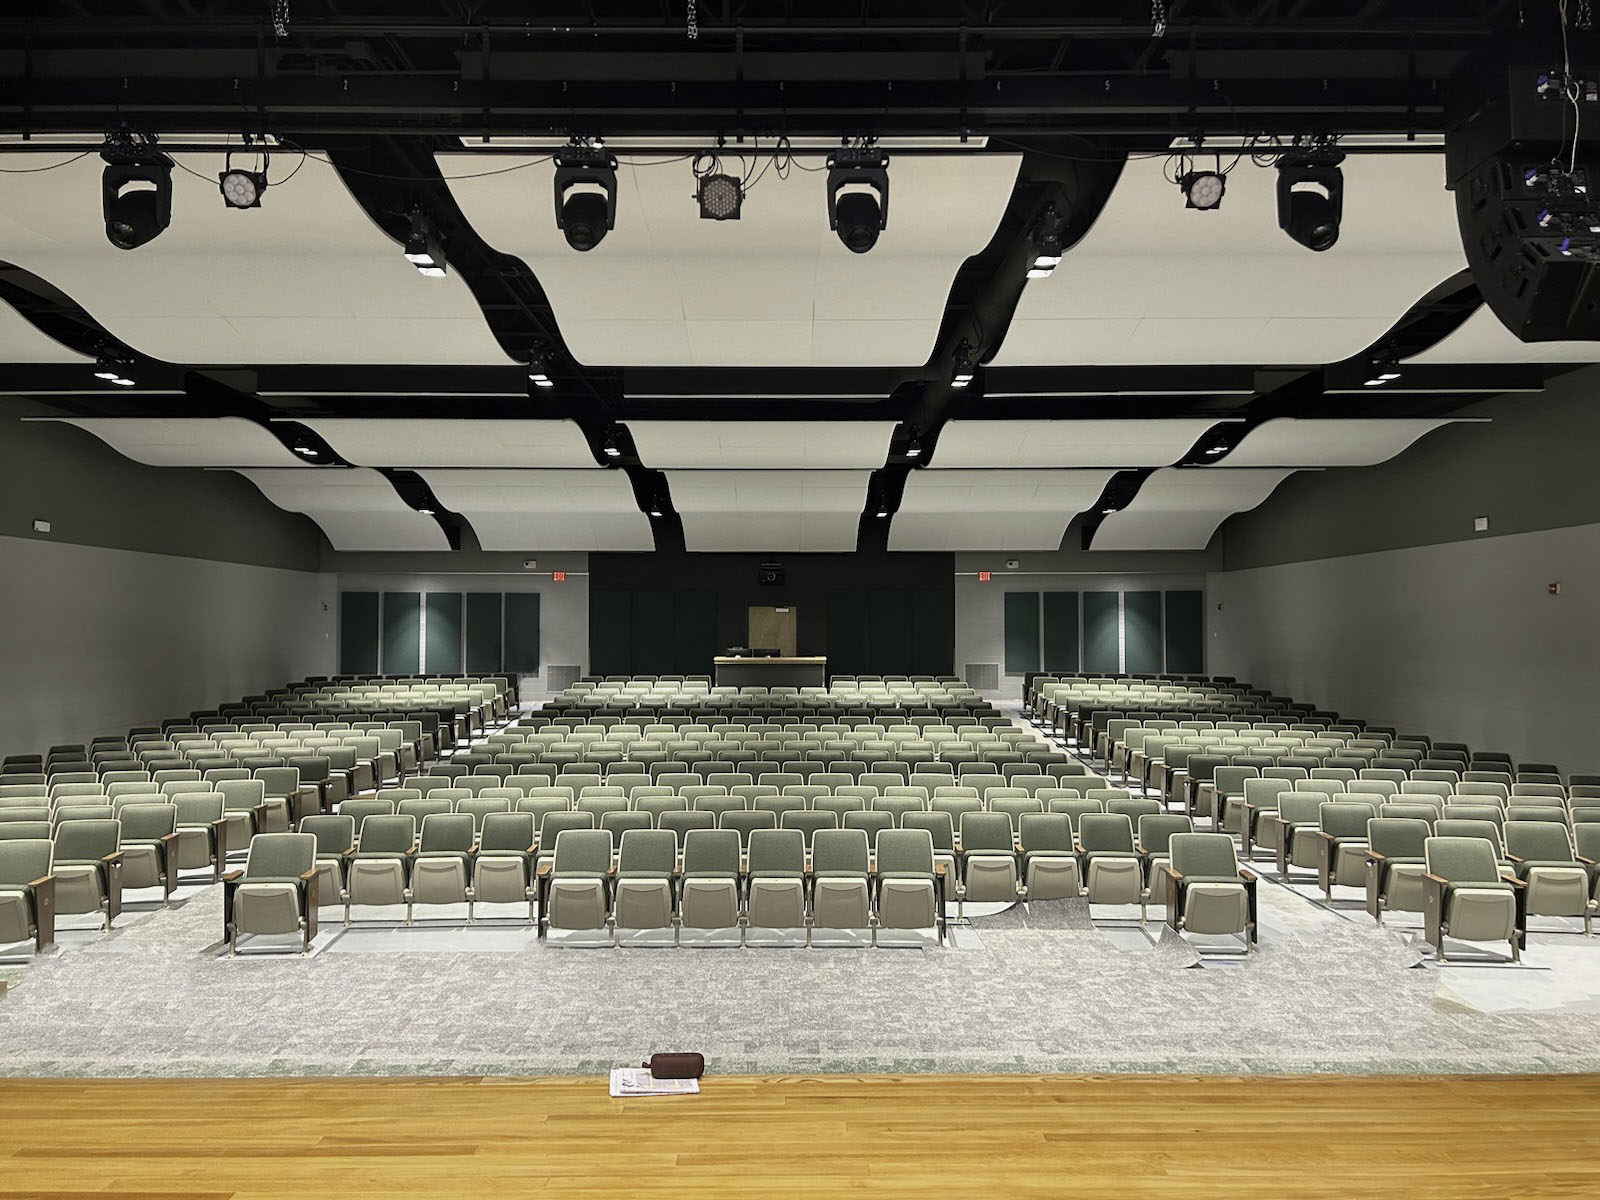
One of the more recent additions to our line of sound absorbing ceiling treatments is the Sonora Wave Cloud. This product can be an ideal choice for architects and specifiers who may be exploring options for large spaces which may require more expansive acoustic treatment while maintaining a certain design aesthetic. The curved shape of the Sonora® Wave Clouds allow for an impressive and unique look, while also providing optimal sound control. Sonora® Wave Clouds are available fabric wrapped or custom painted, with a 132″ radius bend in either a convex or concave profile. This allows for the creation of long waves – hence the name.

For this Job, Acoustics First® worked with Ferrari & Sons to provide the acoustic treatment for an auditorium in the Webutuck Central School District in Amenia, NY. As you can see, the end results turned out great!
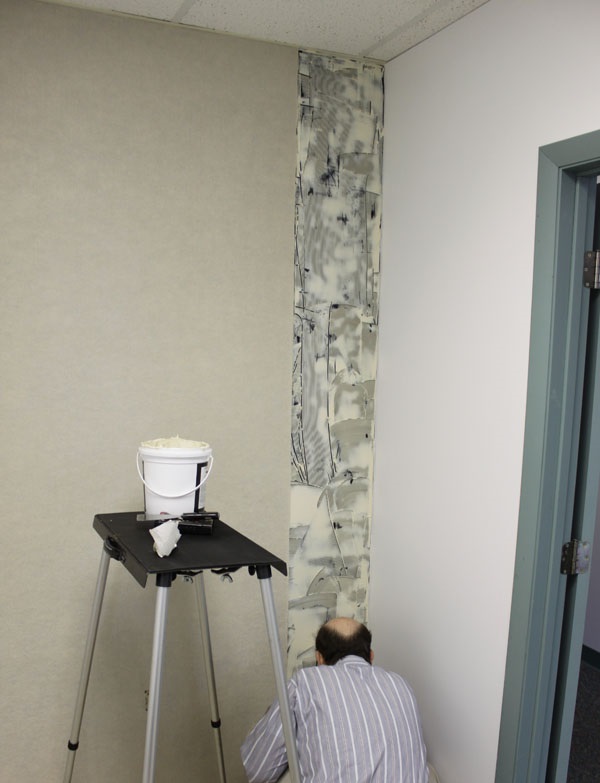
Project: Beginning to End – Biltmore Park Clubhouse
Posted by Acoustics First in Absorption, Customer Feedback, HOW TO, Multipurpose Rooms, Product Applications, Products, Video on August 16, 2023
Occasionally, we get the opportunity to show the entire process that goes into a project, and today we have one which we will run through – beginning to end.
Biltmore Park clubhouse was getting a full aesthetic and acoustic makeover. Acoustics First® was asked to collaborate with Harmony Interiors on the acoustic panel recommendations for this project. After an initial consultation, a layout was developed that would attain the desired effect.
Along with this layout, a pre and post treatment acoustic performance was predicted and supplied.

After the treatment was approved and ordered, the panels were manufactured and supplied to the customer for install. This installation included several Sonora® panels for the ceiling, and others for the walls. After the customer received the order, Harmony Interiors began the installation.


BONUS! This is often all the information we receive… along with some comments about how great the room sounds. But on this occasion, we were able to obtain a full before and after comparison of the effects of the treatment!
Video of the room – pre and post treatment!
The second benefit of getting this before-and-after comparison video is that we were able to critique our initial predictions of the pre- and post-treatment reverb times.
We hope you enjoyed seeing this acoustic project from the initial consultation and layout phase, through the installation, and to completion.

You must be logged in to post a comment.