Archive for category Music Tracking Room
ArtDiffusor® Model C and Model F – Similar, yet different.
Posted by Acoustics First in Diffusion, Media Room, Music Tracking Room, Product Applications, Recording Facilities, Recording Studio, Studio Control Room, Theater, Uncategorized, Vocal Booth, Voice Over on August 20, 2020

We often get asked about the functionality of the different diffusers, and one of the frequently asked questions is about the differences between the ArtDiffusor® Model C and ArtDiffusor® Model F. We will cover some of similarities and differences in the design, functionality and use of these two devices.
Design.
The Model C and Model F use identical math to come up with their basic structure, they even have angled faces – the main difference between the two is that the Model F elements are ½ of the Model C’s height, length and width – and then it is duplicated 4 times in the same footprint… The Model C is nominally 2’ x 2’ x 4” deep. The Model F is four quadrants that are nominally 1’ x 1’ x 2” deep – like little scaled down Model C’s… This makes them visually similar and aesthetically compatible. This low profile design makes the Model F more desirable for ceiling installs in spaces with very limited headroom – like basement studios that have low ceilings.
Performance
Due to the different size of the elements on the two devices, they have very different frequencies at which they are most effective. The Model C is a mid-frequency diffuser by design… having larger elements and deeper wells than the Model F. The Model F is primarily a high-frequency diffuser, due to the small elements and lower profile. Both diffusers are tuned to different frequencies as their “primary range,” and while they do affect lower and higher frequencies than they are designed for – it is to a lesser degree, or the product of absorption.
What does this mean?
The Model C has a primary design range of 1KHz to 4KHz. This is where it is primarily designed to work. It can and does diffuse below 1KHz and over 4KHz – just to a lesser degree than its primary design range.
The Model F has a primary design range of 2KHz to 8KHz, and again, it does diffuse outside of that range, but to a lesser degree.
The angled caps of both the Model C and Model F help to extend their high frequency range by reflecting sound in different directions at higher frequencies – causing the sound to scatter spatially. The different heights of the elements cause sound reflections to be offset “temporally,” or in time. The sound that hits the higher elements is reflected sooner than the sound that hits the lower elements – travelling further before it is reflected. This time offset, changes the “Phase Coherency” of the reflection; the larger the difference in the heights, the greater the offset in time.
The size of the elements matters as well. The shorter wavelengths of high frequencies can diffract and scatter off of the smaller elements of the Model F more readily than low frequencies, which see the Model F as a slightly angled & mostly flat surface. However, the lower frequencies are more affected by the larger and deeper elements of the Model C.
How do these differences help define their use?
The Model C is a great all around diffuser – it covers a wide range of frequencies, throws a very predictable 2D diffusion pattern, and it is tuned to a very musical range.
The Model F is a great high-frequency diffuser. It targets a few very specific, yet important issues. High frequencies are responsible for some nasty problems in rooms. Flutter echoes, ringing, comb filtering, and other artifacts are particularly noticeable in higher frequencies. If your room is otherwise performing well acoustically, the Model F can help tackle that last hurdle to make a good room into a great room.
Many critical listening environments use both the Model C and Model F to tune the diffusion in their space.

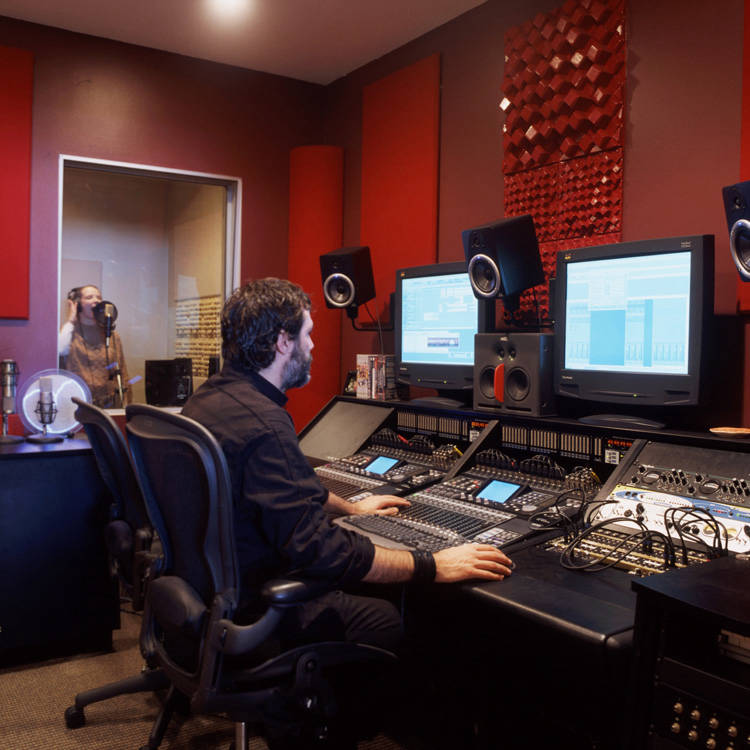
While the white Aeolians® on the back wall are the visual focal-point on in Big3 Studio A, look closely at the ceiling and you will notice a large array of black Model C’s and Model F’s. These help to intermix the diffusion of different frequencies in the large control room.
Due to their aesthetic and functional compatibility, many rooms benefit from using both. Model C’s addressing the bulk of the Mid-range diffusion, and the Model F smoothing out the top end.
I hope that this highlights the unique properties of both the ArtDiffusor® Model C & ArtDiffusor® Model F – and helps to demystify their function and use in your space.
Aeolian™ Diffuser – Mash up
Posted by Acoustics First in Diffusion, Home Theater, Music Tracking Room, Recording Studio on January 19, 2018

Here’s one of the first install pics of our new Aeolian™ Sound Diffusers, installed in a home project studio. Also note the Art Diffusor® Models F & C, in the ceiling and behind the speakers respectively. This is obviously a diffuser connoisseur’s room.
Below shows the room after the Sonora® products are installed.

DIY – Back Wall Diffuser Array/Bass Trap: Revisited
Posted by Acoustics First in Absorption, Articles, Broadcast Facilities, Customer Feedback, Diffusion, DIY, Home Entertainment, Home Theater, HOW TO, Media Room, Music Rehearsal Spaces, Music Tracking Room, Product Applications, Recording Facilities, Recording Studio, Studio Control Room, Teleconferencing, Theater, Vocal Booth, Voice Over on July 14, 2016

DIY – Diffuser Array/Bass Trap
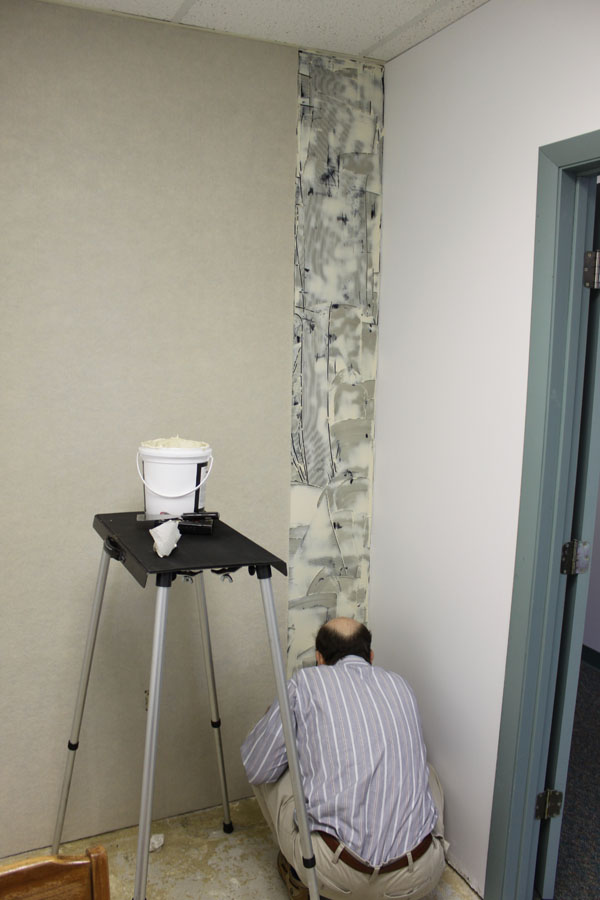
 This month we thought we’d share a few Real-Life pictures of an idea we first introduced back in summer of 2013: The “Back Wall Diffuser Array/Bass Trap”.

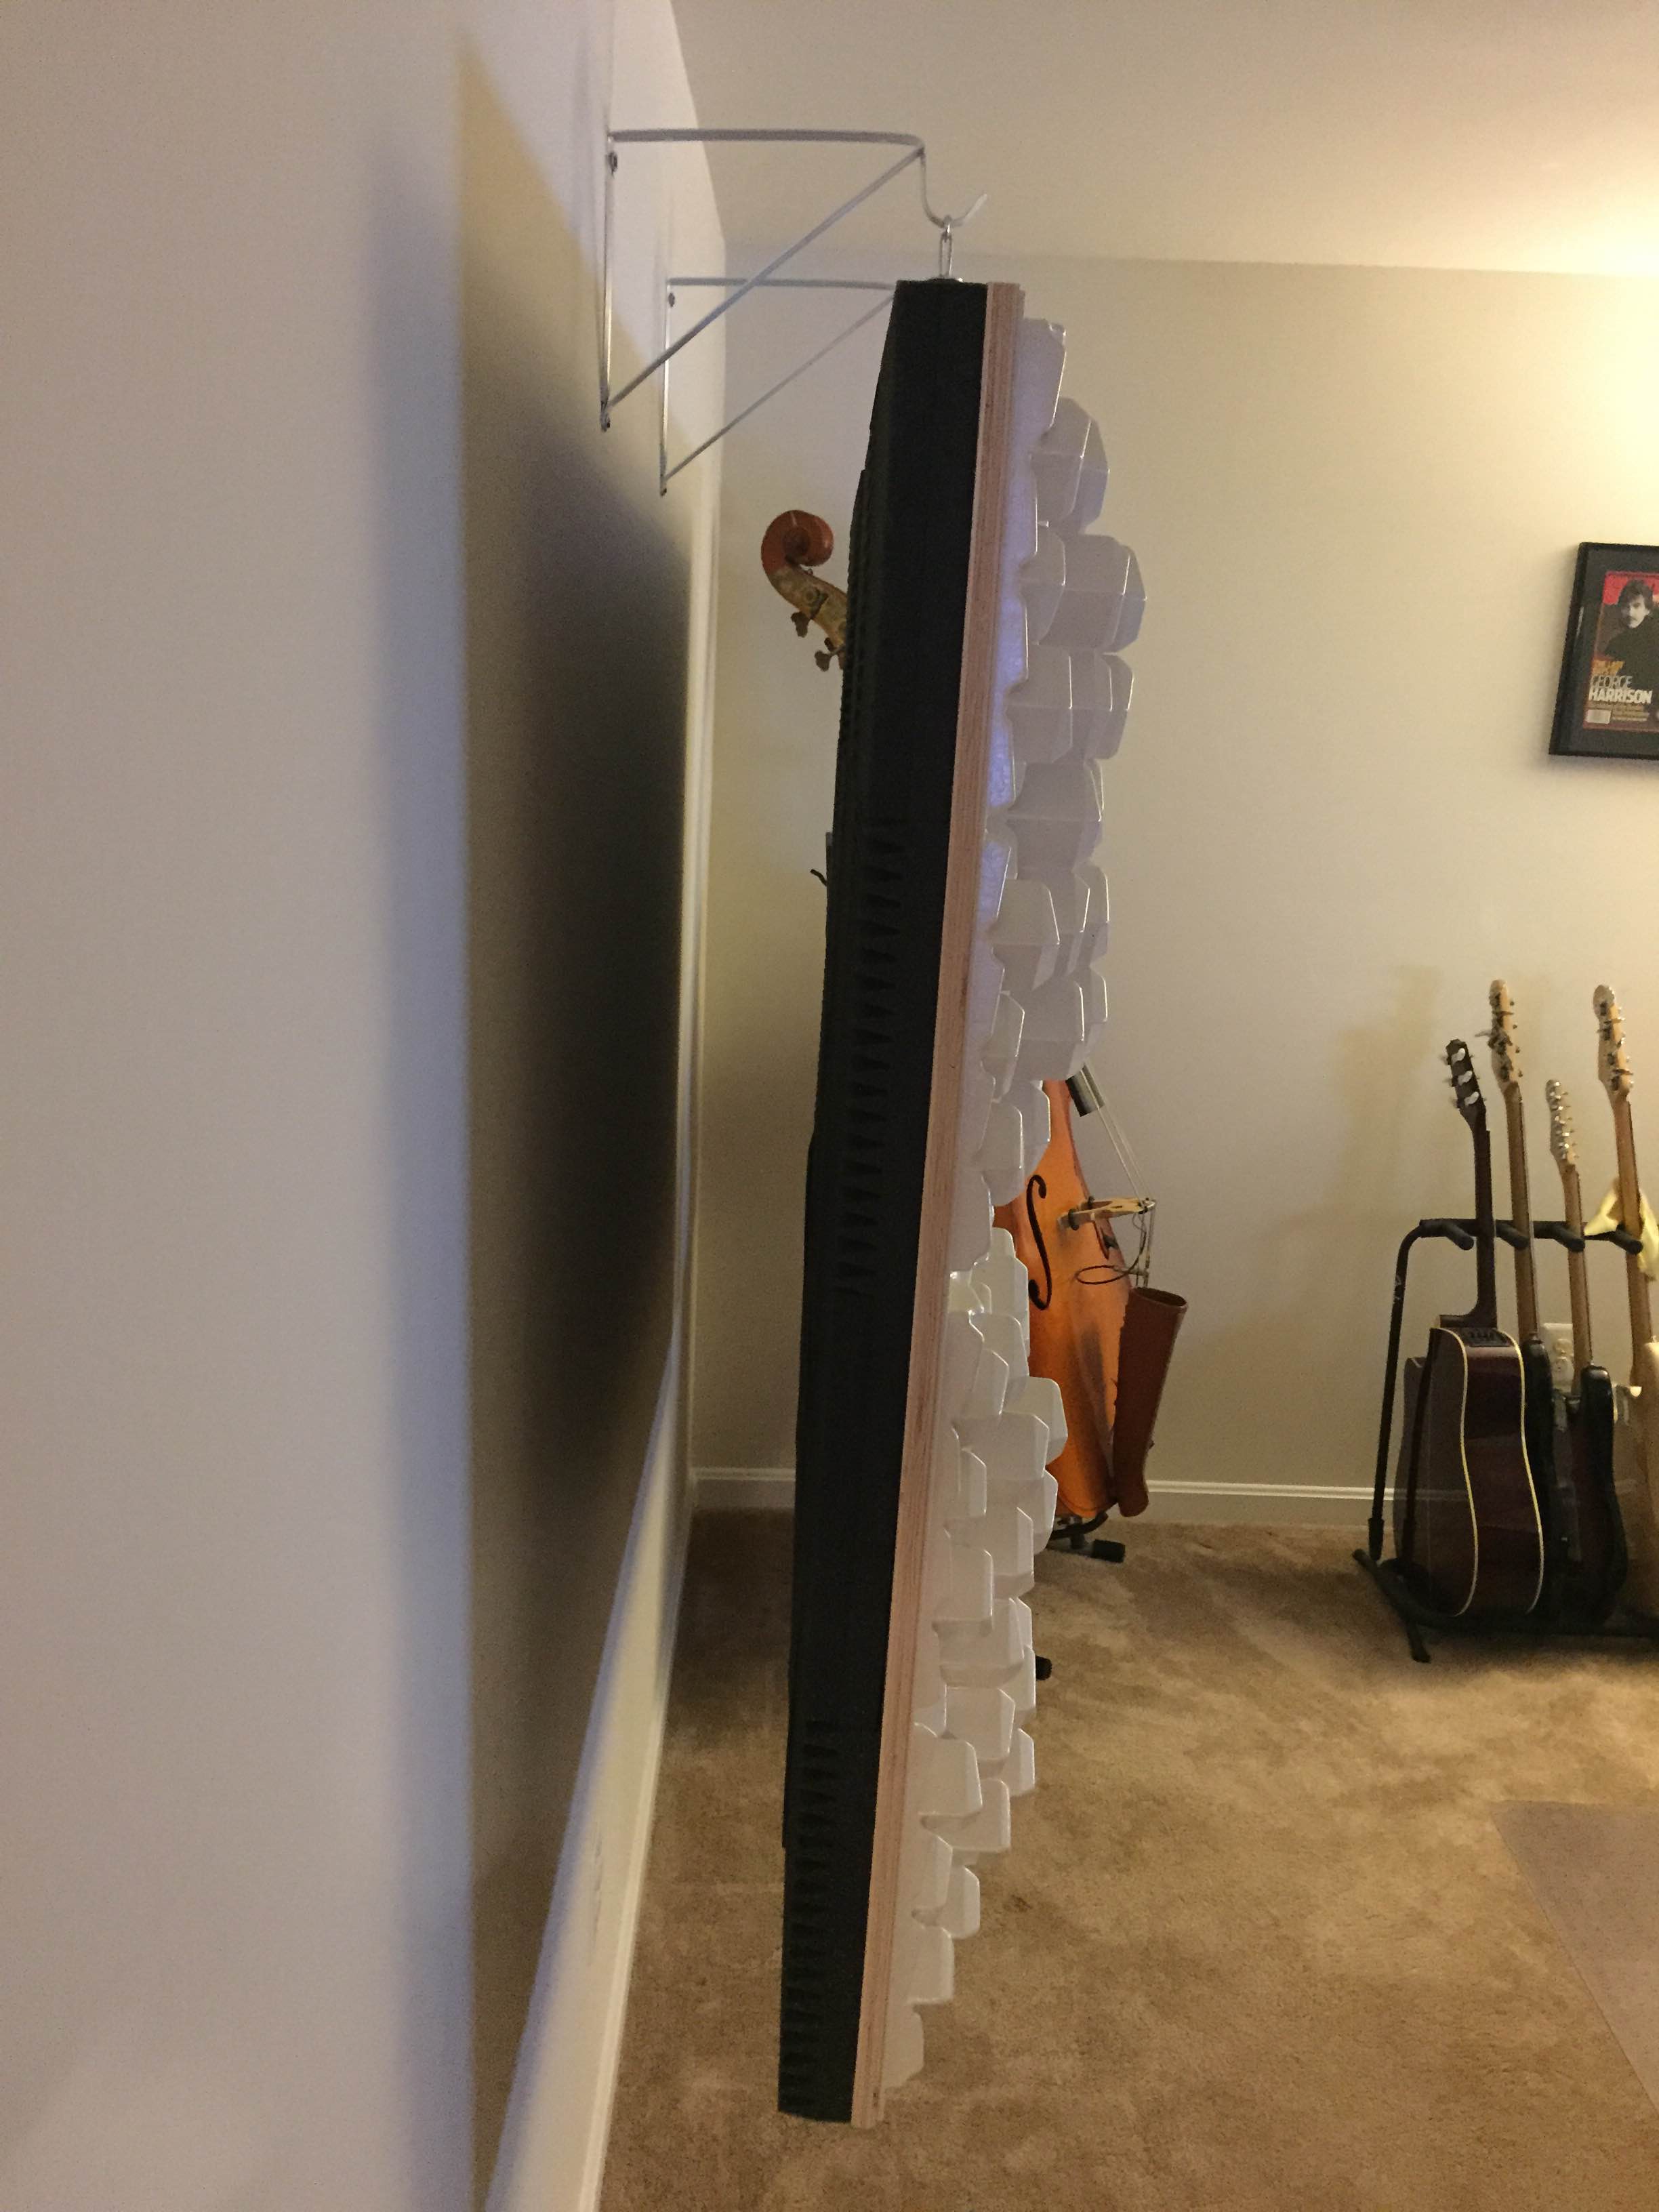
Isolation Hanger
This is the DIY project which incorporates our Art Diffusors®, Cutting Wedge® foam and a couple of isolation hangers into one large free-floating unit, which is acoustically decoupled from the wall.
This particular array was put together by a music producer/bass player for his home. As you can tell from the pics, the construction of this unit was executed beautifully and it’s very close to the original concept drawings.
It’s never too late to get started on your own DIY project.
 Real World – DIY |

Visit the Original DIY page to find out how to make your own.
DIY – Treating a Wall – BlockAid® and SoundChannels®
Posted by Acoustics First in Absorption, Animal Shelters, Auditorium, Broadcast Facilities, Classrooms, DIY, Fitness, Government, Gymnasium, Home Entertainment, Home Theater, HOW TO, Media Room, Multipurpose Rooms, Music Rehearsal Spaces, Music Tracking Room, Product Applications, Recording Facilities, Recording Studio, School & Educational Facilities, Sound proofing, Studio Control Room, Teaching Rooms, Teleconferencing, Theater, Uncategorized, Vocal Booth, Voice Over on July 16, 2015
![]() On many occasions, we get asked about common ways to treat a wall (or walls) either for broadcast, podcast, or other voice recording scenario – where they not only want to tame the reflections within the room, but also block a certain amount of sound coming into – or leaving the room.
On many occasions, we get asked about common ways to treat a wall (or walls) either for broadcast, podcast, or other voice recording scenario – where they not only want to tame the reflections within the room, but also block a certain amount of sound coming into – or leaving the room.
Budget is frequently an issue, major construction is usually unwanted, but effective results are always required.
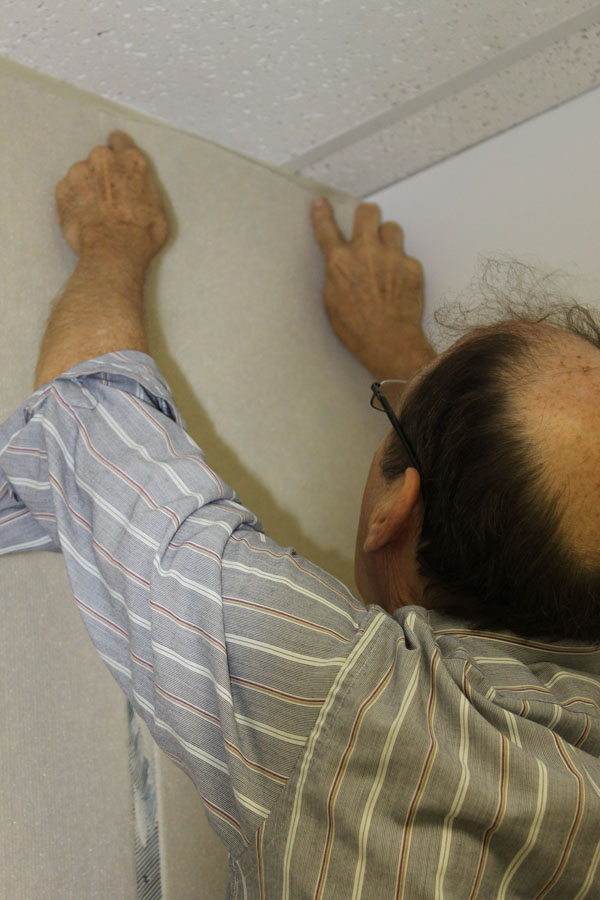
We’re going to show you how to handle a room upgrade – cut down on the sound transmission and cut the room reflections – all with the same skills required to hang high quality wall coverings! Let’s see how you can cover a wall with BlockAid® vinyl sound barrier to block unwanted sound, then go back and cover that with an absorptive layer of Sound Channels® wall covering to finish it off!
This treatment is not recommended for renters, as this is not an easy upgrade to undo. However, if you have an extra bedroom you are using as Podcast studio, this is a great way to treat it… Let’s get started!
Installing BlockAid®
 1. Measure the wall for the first panel length. Mark the panel width on the wall. |
 2. Measure and Mark the length of the wall on the BlockAid® |
 3. Use a straightedge and a razor to cut the BlockAid®. |
 4. Using a trowel, apply vinyl tread adhesive to the wall, covering the whole area where the first panel is going. (You marked the wall right?) |
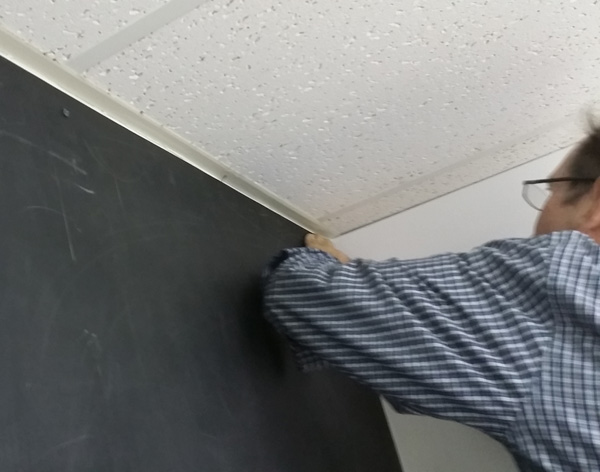 5. Hang the panel starting at the top, install a few screws to hold it in place while the adhesive sets. (You will probably need a friend to help, as BlockAid® is a pound per square foot!) |
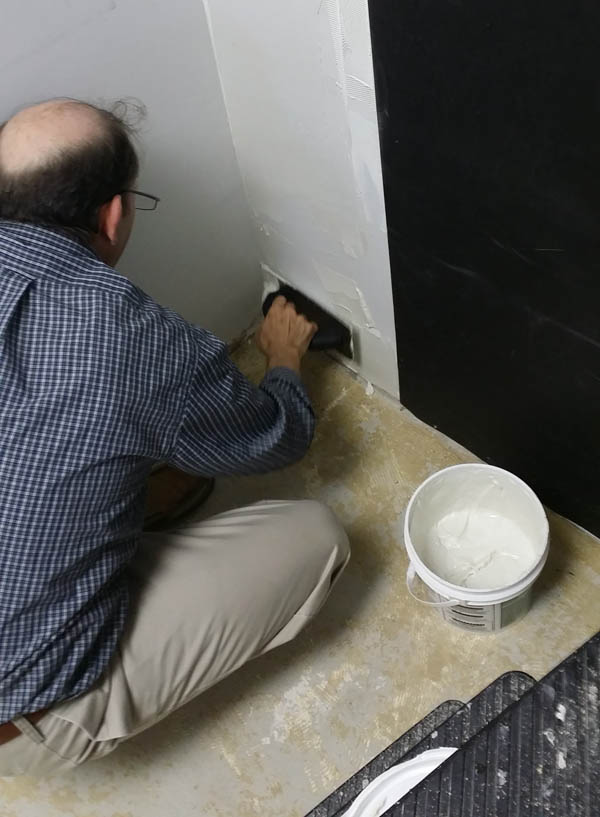
 6. Using your hands and a putty knife, smooth out all the air bubbles from behind the BlockAid® so that you get a good bond when the adhesive cures. |
 7. Repeat the steps for the next strip. Measure, Mark, Cut, Trowl, Hang… |
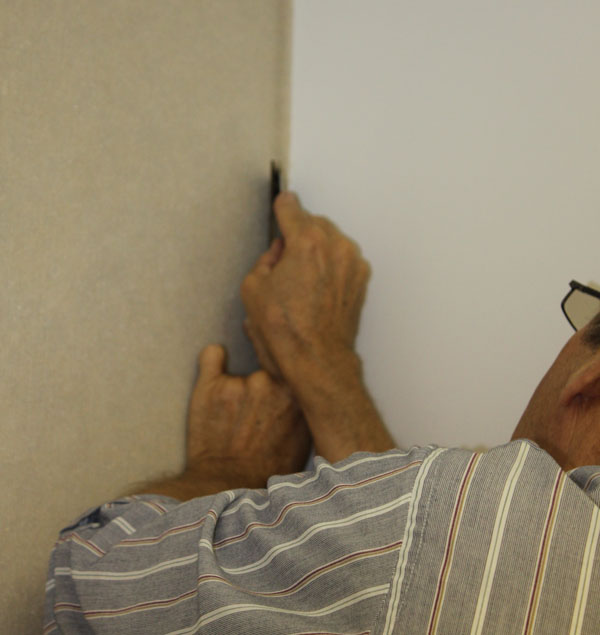
 8. Make sure you line up those seams! push them right up agaist each other. Smooth out the air bubbles, cut out any outles, trim any extra… Let dry! |
Good job! Now, take a breather while that dries, and notice how much less sound is passing through the walls. This is when you will notice that the sounds are now coming from under the door, and through the leaky old window. These can be taken care of in different ways…. but the easiest way is the same way you deal with keeping the cold out! Get some weather strip, a door skirt, seal the gaps around the frame of the door, and windows, maybe go out and buy some heavy curtains for the windows… if you have some leftover BlockAid®, you can always get some Industrial Velcro and temporarily stick a piece over the window!
Installing Sound Channels®
 1. Remove the Screws from the BLockAid® – if you didn’t already… then same as BlockAid®, measure the wall, mark it, measure and cut a piece of Sound Channels® and start troweling on the Chapco! |
 2. Well, when you get tired, make your friend finish troweling out the adhesive to cover where the panel is going. (You are going to overlap the seams.) |
 3. Starting at the top, hang the Sound Channels® overlapping the seam of the BlockAid® under it. Smooth out the air bubbles with your hands. Make sure it lines up well. No screws needed! |
 4. Measure and cut the next strip, carefully following a rib in the fabric, while your friend, (who is way better at troweling than you are anyway,) preps the next section with adhesive. |
 5. Best practice is to run the fabric in the same direction every time. Not just with the ribs, but in the same direction it comes off the roll. So find the top. |
 6. After you find the top, start hanging from the top, lining up the seams and smoothing out the bubbles as you go. |
 7. Keep those seams tight as you go. Keep smoothing… almost done! |
 8. Trim up the extra and repeat as many times as needed. |
That’s it!

Don’t forget to trim around those outlets!
This treatment is a common first step in treating many professional broadcast studios – it gives you extra isolation with the barrier and takes the edge of the sound reflections. Many professional environments then go back and add some additional treatments such as bass traps, diffusers, and broadband absorber panels – especially if these studios are planning on bringing in any musical guests.
This isn’t just for home studios. It works great for kids play rooms, bedrooms, home theaters, home gyms, and any place you want to block sound and tame the sound inside the room.
Customize your space as you will, but this treatment is a consistent winner for cost and performance, and is a great way to get started without breaking the bank!
Then and now… Diffusers and Don Juan.
Posted by Acoustics First in Auditorium, Broadcast Facilities, Classrooms, Diffusion, Home Entertainment, Home Theater, Media Room, Multipurpose Rooms, Music Rehearsal Spaces, Music Tracking Room, Recording Facilities, Recording Studio, Studio Control Room, Teaching Rooms, Teleconferencing, Uncategorized, Vocal Booth, Voice Over on July 4, 2013
 Four score and seven years ago (1926), movies had just begun integrating sound along with the visuals, as Warner Brothers released Don Juan – syncing a 33 1/2 rpm audio disc to the video as part of the new Vitaphone system. The era of talkies had arrived, as did a new era of fake accents.
While we still have those fake accents from the days of yore (and Johnny Depp as Don Juan), we have new technologies to bring us our entertainment – high-definition video on big screens with 10.2 digital surround sound, playing in home theaters that rival the best public theatrical venues.
While we have seen (and heard) the technological evolution of movies to what they are today, we have also seen (and heard) the evolution of acoustics – and the one area I’m going to discuss today is one of the fastest evolving acoustic disciplines – Diffusion.
Diffuser design has come far from the early days of scattering sound by changing the angle of your wall, or the shape of the room to negate, dilute, or diffuse unwanted or undesirable acoustic waves. Today, acoustic diffusers are mathematical and scientific wonders, designed to be elements that are inserted into your listening environment to create an acoustic space that is open and airy.
During this evolution of diffusion we have seen the rise of many shapes; The Pyramid, the Barrel, the Binary Arrays, Flat Panel, 1D and 2D QRDs, and more… a veritable cornucopia of geometric shapes and mathematically produced profiles, which are scientifically sound, but fundamentally, inorganic.
The notes on the instruments we play, are based on math and physics, but the music we play ebbs and flows from the pounding of drums to the smooth bass lines, from the intimate vocals to screaming, and from the heavy metal acts to classical symphonies (with or without a heavy metal act). Diffusers have followed suit, changing their shape along with the changing industry – making advances as new discoveries are made.
Diffusers have become important acoustic treatments in listening rooms, recording rooms, sound stages, and theaters – embrace the diffusers! Embrace the future Don Juan’s and their terrible accents… ok… just diffusers… fine.

You must be logged in to post a comment.